What is Snowpack?
Snowpack is a build tool similar to Webpack. It aims to bring lightning-fast build times with its unbundled development approach. It does this by only building each module once, and never again. Whereas Webpack and other bundlers usually bundle your whole application each time something changes in your application. This can mean several seconds for larger projects that can add up really fast.
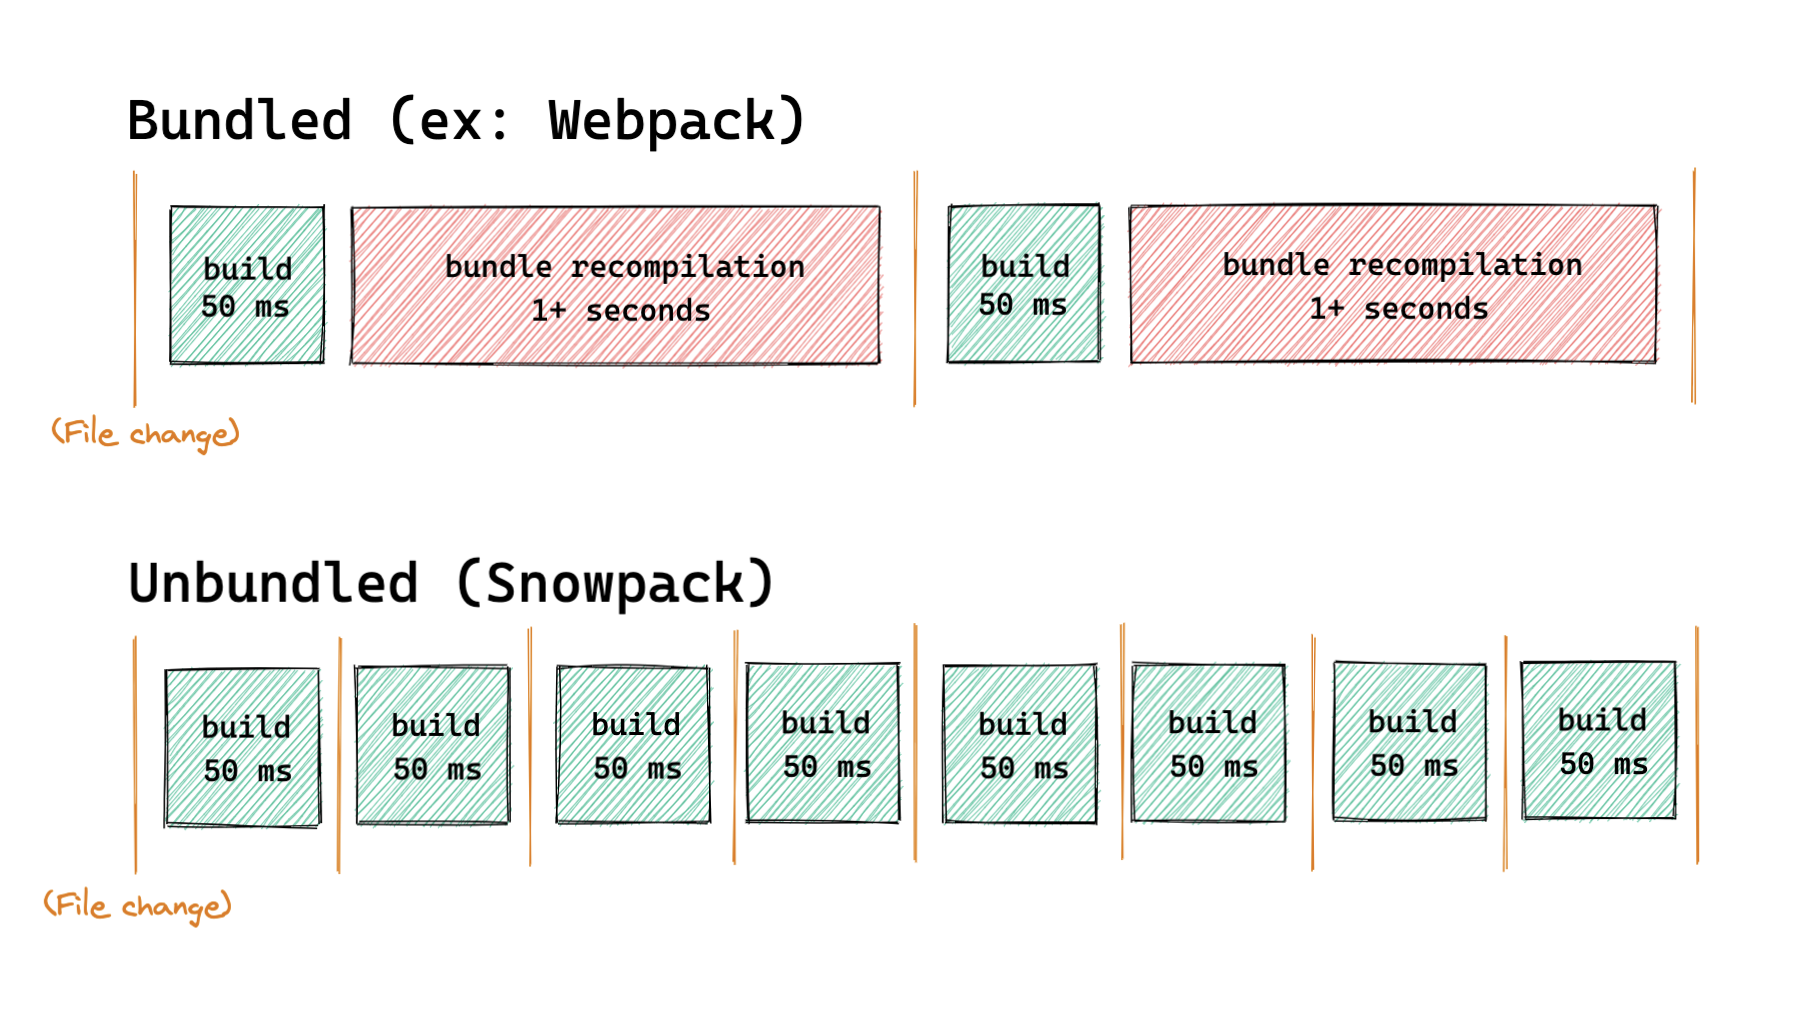
Snowpack only rebuilds a file if it actually changes, whereas Webpack rebuilds your whole bundle. This means that for each module, you will get a different file, unlike in Webpack where it bundles all dependencies into one single JavaScript file. From this point of view, Snowpack is a great fit for any size of project. As your project grows, your build times won’t. They stay as fast as they are at the start of your project.
It’s also worth mentioning that Snowpack caches your builds to avoid building the same file over and over again. On top of that, it offers no-configuration, just like Parcel. If you still need to define some custom rules, Snowpack does have a configuration file you can use to customize it to your own taste.
All of this results in faster bundles, and faster development speed. So let’s see how you can set up Snowpack from scratch. Then we will take a look at how to use it with Svelte and React.

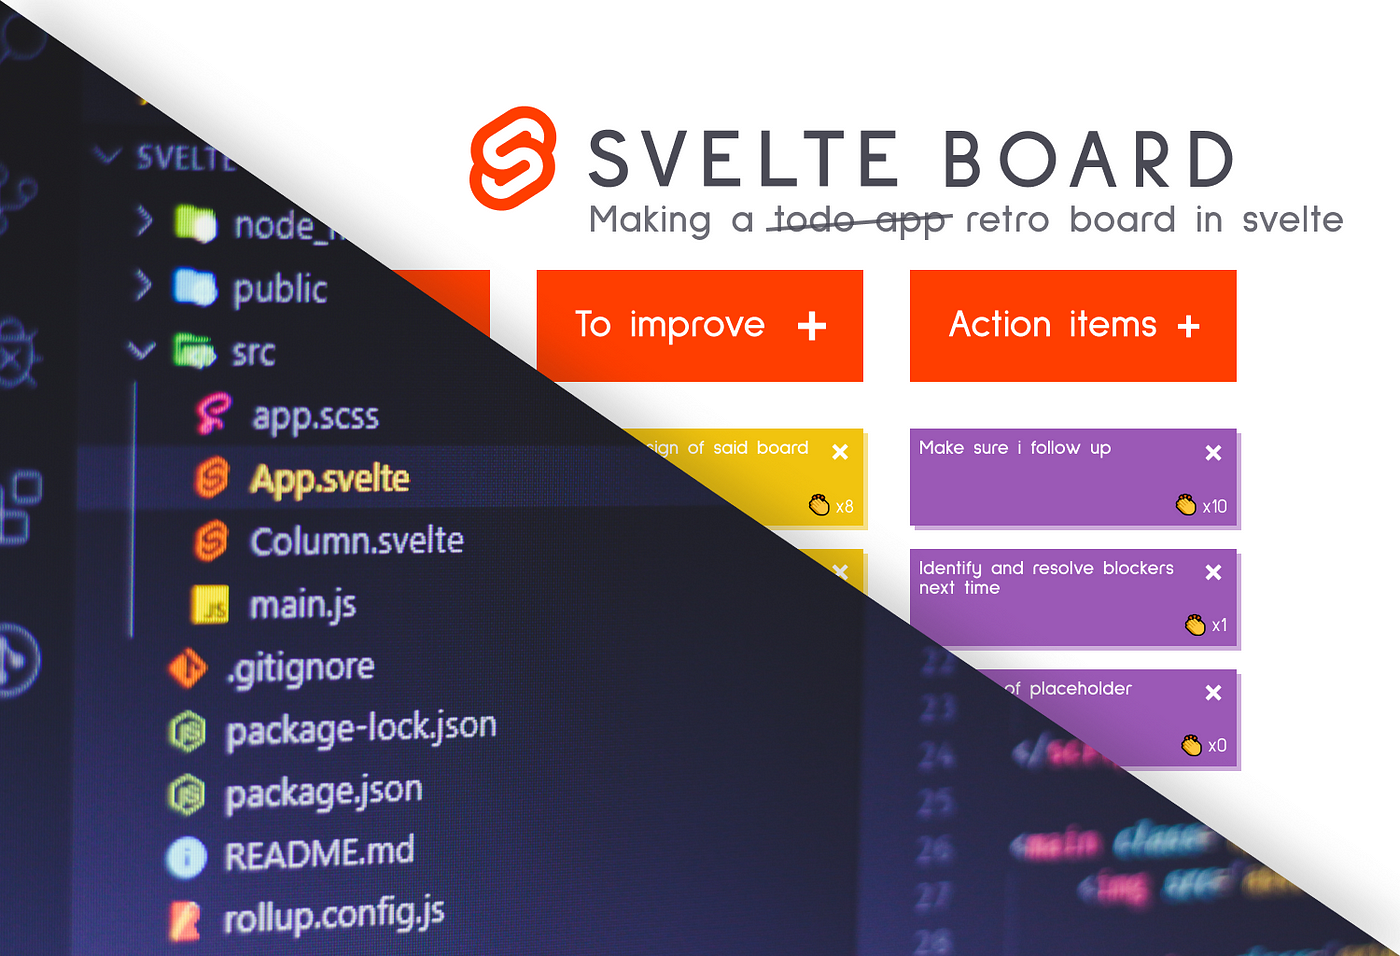
How You Can Use Snowpack with Svelte
The easiest way to create a new Snowpack project is by running the following command in your terminal:
npx create-snowpack-app snowpack-svelte --template @snowpack/app-template-minimal
If you don’t have npx, install it globally by running npm i -g npx. After Snowpack finished installing, cd into your project folder and run npm run start to test if everything works properly. You should see the following in your browser:
Welcome to Snowpack!
So far, so good, but we’re missing Svelte. To use it, we need two additional dependencies: Svelte itself and the Svelte plugin for Snowpack:
npm i svelte @snowpack/plugin-svelte
Plugins in Snowpack are meant to extend the functionality of Snowpack, without you having to implement the custom behavior. To use this plugin, open up your snowpack.config.js file from your project root, and add the installed plugin to the plugins array:
plugins: [
    '@snowpack/plugin-svelte'
],This will let Snowpack handle .svelte files for you. To try things out, add an App.svelte under a src folder with the following content:
<style>
    h1 {
        position: absolute;
        top: 50%;
        left: 50%;
        transform: translate(-50%, -50%);
        margin: 0;
        animation: wave 1.5s infinite;
    }

    h2 {
        text-align: center;
        color: #111;
        position: absolute;
        top: 55%;
        left: 50%;
        transform: translateX(-50%);
    }

    a {
        color: #FF3E00;
    }

    @keyframes wave {
        0%   { transform: rotate(0) translate(-50%, -50%); }
        10%  { transform: rotate(-5deg) translate(-50%, -50%); }
        20%  { transform: rotate(10deg) translate(-50%, -50%); }
        30%  { transform: rotate(-5deg) translate(-50%, -50%); }
        40%  { transform: rotate(10deg) translate(-50%, -50%); }
        50%  { transform: rotate(0) translate(-50%, -50%); }
        100% { transform: rotate(0) translate(-50%, -50%); }
    }
</style>

<h1>👋</h1>
<h2>
    Welcome to <a href="https://svelte.dev/">Svelte</a>,<br />
    bundled by <a href="https://www.snowpack.dev/">Snowpack</a>
</h2>If you prefer using Sass, there’s a plugin for that too. You can install it by running the following command. Don’t forget to also include it in your plugins array:
npm i @snowpack/plugin-sass
Then call your App.svelte in your index.js to bootstrap Svelte:
import App from './src/App.svelte';

const app = new App({
    target: document.body,
});

export default app;Restart your dev server and verify if everything has been compiled correctly:
The use of static assets
To import images, say with the following path in Svelte:
<img src="assets/img/svelte.png" alt="" />You want to create an assets folder at the root of your directory. Now you may don’t want to keep static assets at the root folder of your project. Instead, a more common practice is to keep them in a public folder. However, then you’d have to change the path to point to public:
<img src="public/assets/img/svelte.png" alt="" />To keep the import path simple, but still store the assets in a public folder, you need to customize the mount object in your snowpack.config.js file. Add the following two new lines to it:
mount: {
    public: '/',
    src: '/dist'
},This will tell Snowpack to use the public folder as the root directory when you open your browser. It also tells it to map the src directory to /dist. The key is the directory name in your project root you want to map, and the value is where you want the folders to be when built.
Now since the public folder became your root folder that will be served to the browser, you want to move your index.html file inside the public folder as well. This also means you want to update the imports in your index.html file:
- <script type="module" src="/index.js"></script>
+ <script type="module" src="/dist/index.js"></script>And lastly, don’t forget to update your import in your index.js as well:
- import App from './src/App.svelte';
+ import App from './App.svelte';As you can see, the mount config lets you use a custom project structure to place your files where you really want them to be. If you also want to simplify your import statements, Snowpack also lets you define aliases through its config file. Lastly, to build the project, simply run npm run build and you’re good to go.
How You Can Use Snowpack with React
Snowpack also has built-in support for JSX. This means you don’t need any plugin or further configuration to make it work with React. The steps are exactly the same as for Svelte. Only this time, you want to install React packages instead of Svelte, and that’s everything:
npm i react react-dom

Summary
Snowpack is a great tool if you want to optimize your build times, and version 3 has just been released. One of the biggest selling points of Snowpack for me is that it provides zero-configuration out of the box, just like Parcel, but it also has an easy to understand configuration file that you can use if need some custom behavior. It has built-in support for JSX, TypeScript, React, or CSS modules, which makes it super convenient to new projects with a modern techstack.
Have you used Snowpack before? If so, let us know your thoughts in the comments section below! Thank you for reading through, happy coding!

Rocket Launch Your Career
Speed up your learning progress with our mentorship program. Join as a mentee to unlock the full potential of Webtips and get a personalized learning experience by experts to master the following frontend technologies:
Courses


Recommended

What are Tuples and Records in JavaScript?
How to Make Private Properties in JavaScript