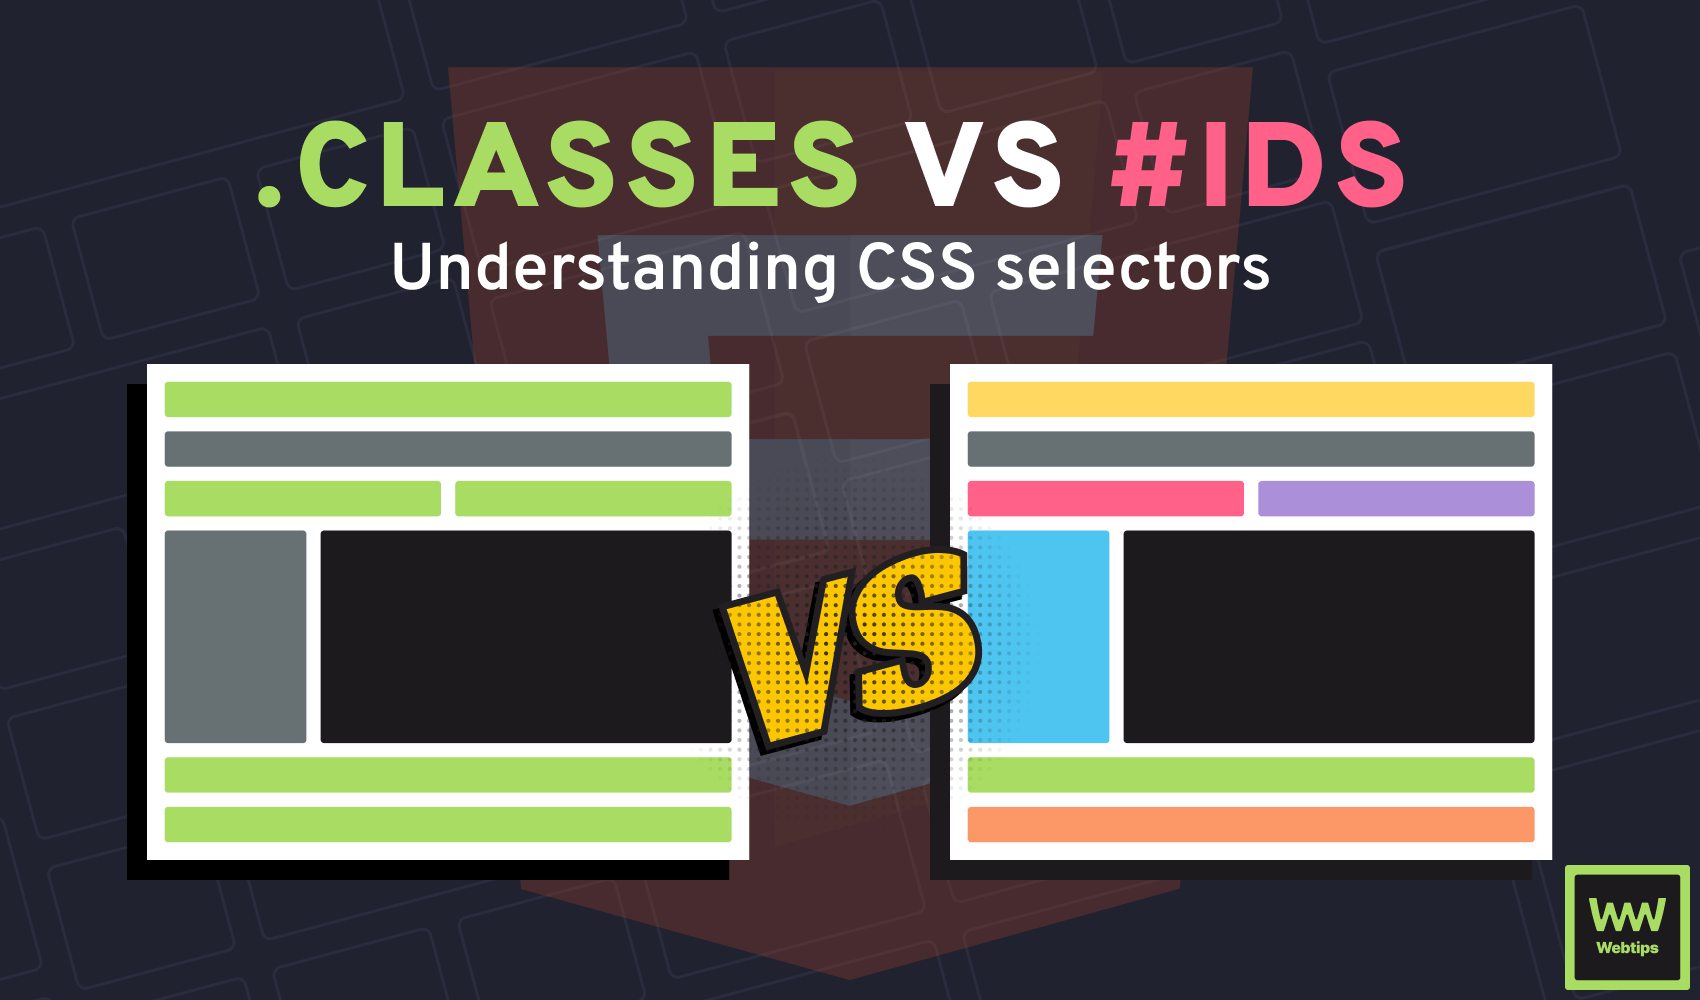
The Structure of HTML
Now you’ve got an introduction to html and you want to get familiar with the structure of HTML. If you haven’t seen part 1, you can give it a read here. And now, it’s time to get familiar how an html document is actually built up. So without any further ado, let’s get into it.
First things first, you’re going to need a code editor which is kinda like a text editor, except you have some extra cool stuff packed in there. I’m using VSCode by Microsoft, but if you happen to have one already, you can use your favourite one.
Now let’s create a new file in our code editor and give it a name, like index.html. And BOOM! 💥 You’ve just created your first html file, so that’s it.

Now sit tight and don’t go anywhere, we haven’t finished yet. Of course it’s completely empty. If you open it up in a browser, you will see nothing but a blank page.
First, let’s see the final output what we are going to create and then break it down, piece by piece:
<!DOCTYPE html>
<html>
<head>
<title>App-aratus 2000</title>
</head>
<body>
<!-- heading -->
<header>
<h1>HTML Basics</h1>
</header>
<!-- body -->
<article>
<h2>The Structure of HTML</h2>
<p>
<strong>Lorem ipsum dolor sit amet, consectetur adipiscing elit, sed do eiusmod tempor incididunt
ut labore et dolore magna aliqua.</strong><br>
Ut enim ad minim veniam, quis nostrud exercitation ullamco laboris nisi ut aliquip ex ea commodo consequat.
Duis aute irure dolor in reprehenderit in voluptate velit esse cillum dolore eu fugiat nulla pariatur.
Excepteur sint occaecat cupidatat non proident, sunt in culpa qui officia deserunt mollit anim id est laborum.
</p>
<p>
Lorem ipsum dolor sit amet, consectetur adipiscing elit, sed do eiusmod tempor incididunt
ut labore et dolore magna aliqua. <a>Ut enim</a> ad minim veniam, quis nostrud exercitation ullamco
laboris nisi ut aliquip ex ea commodo consequat. Duis aute irure dolor in reprehenderit in voluptate
velit esse cillum dolore eu fugiat nulla pariatur. Excepteur sint occaecat cupidatat non proident,
sunt in culpa qui officia deserunt mollit anim id est laborum.
</p>
</article>
<!-- footer -->
<footer>
</footer>
</body>
</html>
First you want to define the version of the document, to tell the browser what version of html the page is written in. Which you can do so, by writing doctype followed by the version, and since you should always work with the latest version of html, which is html5, we only need to write html. No need to specify the version. Your document should always start with this line: <!DOCTYPE html>
Next we have the html tags, everything should go between these. Inside the html tags we have a head and a body tag.
The heading is not going to show up in the browser. It only tells plus information to it about our document, like meta tags, styles and scripts our document uses. The text specified in the <title>
tag will show up at the browser’s tab. As you can see from the code example, indentation is really important for readability purposes. Otherwise our document gets cluttered and unreadable really fast. Therefore you should always indent every child by one tab space.
Moving onto the good stuff, the meat of our document, which is the body. Everything you want to show in the browser is going to go here, like paragraphs, tables and lists and whatnot. Well, everything, except one thing. The very first line you see is a comment, and it will not show up in the browser
<!-- heading -->
<!-- heading -->
We can use comment to show information only relevant to the developer. We can also use them as “brace-trackers” which indicates when a new section is ahead or a tag is closed. A good reminder: don’t overuse comments, your document should describe itself, it should be semantic.
Semantics is the study of the meanings of words and phrases in a language.
If you open the document up in a browser and doing right-click, “inspect source” or hitting F12 on your keyboard, you are going to see the developer tools

You will see a bunch of tabs on the top. The one we are interested in, is the “Elements” tab, highlighted with a blue underline. This tab shows the dom (short for document object model) and we can see here that our comment is showing up, but we can’t see it in the page.
We also have a <header>
element, not to confuse with the <head>
tag, the first is used for defining a part of the web page, to create a section, while the latter is used for providing additional information to our document. We used other structural elements as well like <article>
and <footer>
all having the same purpose: to provide structure for our document and make our markup semantic.
Both in the header and in the article we have tags starting with the letter h. h1
, h2
are used for defining headings. We have six of them from h1
all the way down to h6
. The larger the number, the smaller the heading. We also have some <p>
tags which are used for paragraphs and of course, we can already format that piece of text with some additional html tags, without using any style-sheets, for example, we can break a line by utilising the <br />
tag, which as you can see is a self closing tag. We can also emphasis pieces of text by wrapping it in a <strong>
tag.
And since html is all about hypertext, we should also add hyperlinks, which I did in the second paragraph. It is denoted by the <a>
tag. Now this will not redirect anywhere as we would need to specify a url. This can be done by adding attributes to the <a>
tag, however since this story is getting lengthy, I decided to split it into two parts and cover attributes in another story.
And that’s all, you’ve just created your very first html page. Hope you find this useful. 😉
TOC
Access exclusive interactive lessons
Unlimited access to hundreds of tutorials
Remove ads to learn without distractions