Progressive Web Apps - One Codebase, Multiple Devices
Ever worried about maintaining multiple codebases across different devices just to be present on mobile, tablet, and desktop? The time, the effort, keeping everything in sync, all these things put so much pressure on us deciding whether it’s truly worth the hassle to port our website or app to mobile. Most of us tend to give up right before even starting it.
Luckily, it’s the end of 2019 and we have a couple of alternatives to go the easy route and one of them is called progressive web apps or PWA for short.
Progressive Web Apps are not a new thing. More and more sites are being configured to become eligible to enjoy the benefits of PWAs. Since making a PWA from your already existing site requires only minor configuration, there should be no reason keeping you from going progressive. So what is it all about?

What is PWA About?
PWAs are essentially existing sites or web apps that are using modern web development techniques to make them behave and feel like a native app. They are often referred to with three words that describe them: They are reliable, fast, and engaging.
Reliable
They are reliable because they work in uncertain network conditions or even without an internet connection at all. This is achieved through the use of service workers. It enables web apps to load instantly with the help of caching.
Fast
Load time alone won’t make your users stay if the performance of the site is not optimal. PWAs are known for being fast whether it comes to user interaction, animation, or just smooth scrolling.
Engaging
They feel like a native application on your mobile. They are installable through the browser without the need for an app store. Once available on the user’s home screen, they can be opened in full screen to create an immersive experience. Through the use of web push notifications, you can also re-engage with users.
Why is it Good For Me?
Apart from the points mentioned above, it can grow your audience and increase conversion rate by:
- Making your site available at the home screen of users
- Increasing engagement with the use of web push notifications
- Working reliably no matter the network conditions, even if the connection is non-existent

Requirements for PWA
We all know that nothing comes for free. The same applies for Progressive Web Apps. Fortunately, the amount of tasks to do is minimal compared to developing your site natively.
First of all, your site needs to register a service worker. Service workers help you serve your site even when the user is offline. They can do this by caching static resources that can be served from your device rather than re-fetching them from the server each time you visit the site.
In order to be able to register a service worker, your site also needs to be served over HTTPS. This criteria is most probably already met by most. Don’t worry, testing out the service workers works without a problem locally.
Your site will also need to have a web app manifest file that meets the following criteria:
- It has a
nameproperty - It has a
short_nameproperty - It has a
start_urlproperty - It has a
displayproperty where the value isstandalone,fullscreen,minimal-uiorbrowser - It specifies an icon that is at least 192px by 192px in dimensions
It probably goes without saying, but your site should be responsive to make it eligible for PWA features.
Once you meet these criteria, Chrome will prompt users to add your app to their home screen. Now that we know what things we need to tick off, we can put theory into practice and make our web app progressive.
Putting Theory Into Practice
I’ll assume your site is already served through HTTPS and it is being responsive.
Working with service workers is a whole topic in itself. I’ve made an in-depth tutorial on them, if you are interested in how to set up one, you can refer to it here. This leaves us with the last part which is the configuration of the web app manifest.
The web app manifest will help Chrome determine your app’s property, such as its name, its icon, and even the color for the toolbar at the top.
To set up the manifest file, create a file in your project root folder called manifest.webmanifest:
{
  "name": "Portfolio of Ferenc Almasi",
  "short_name": "Allma.si",
  "start_url": "/",
  "display": "fullscreen",
  "background_color": "#282E3B",
  "theme_color": "#282E3B",
  "icons": [{
      "src": "/assets/img/icon.png",
      "sizes": "512x512",
      "type": "image/png"
  }]
}The name property will hold the name of your app. For short_name, I used the URL of the website but it can be anything else. It will be used on the user’s home screen and everywhere else where space may be limited.
The start_url property will define which route to load in when first started. In my case, this is set to / which is the home page. Ideally, you want to go with a landing page rather than landing the user on one of your product’s details page.
The display property specifies what UI elements to show when your app is launched. fullscreen will open the app without any browser UI element and the page will take up the entire screen. For the full list of available display options, you can refer to the display property section on Chrome developers.
I also specified the background_color and theme_color property. The background_color is used for the splash screen when your app is being launched, while the theme_color is used for setting the color of the toolbar inside the app.
Last but not least, you need to specify the set of icons used for the app. The icons property takes in an array of objects. Here you can specify the source of the image, its type, and the size. This will be used for the icon of the app on the user’s home as well as for the splash screen.
To finally load the manifest file into your app, all you need to do is to add a link tag into your head which points to the location of your manifest.webmanifest.
<link rel="manifest" href="/manifest.webmanifest" />Testing Everything Out
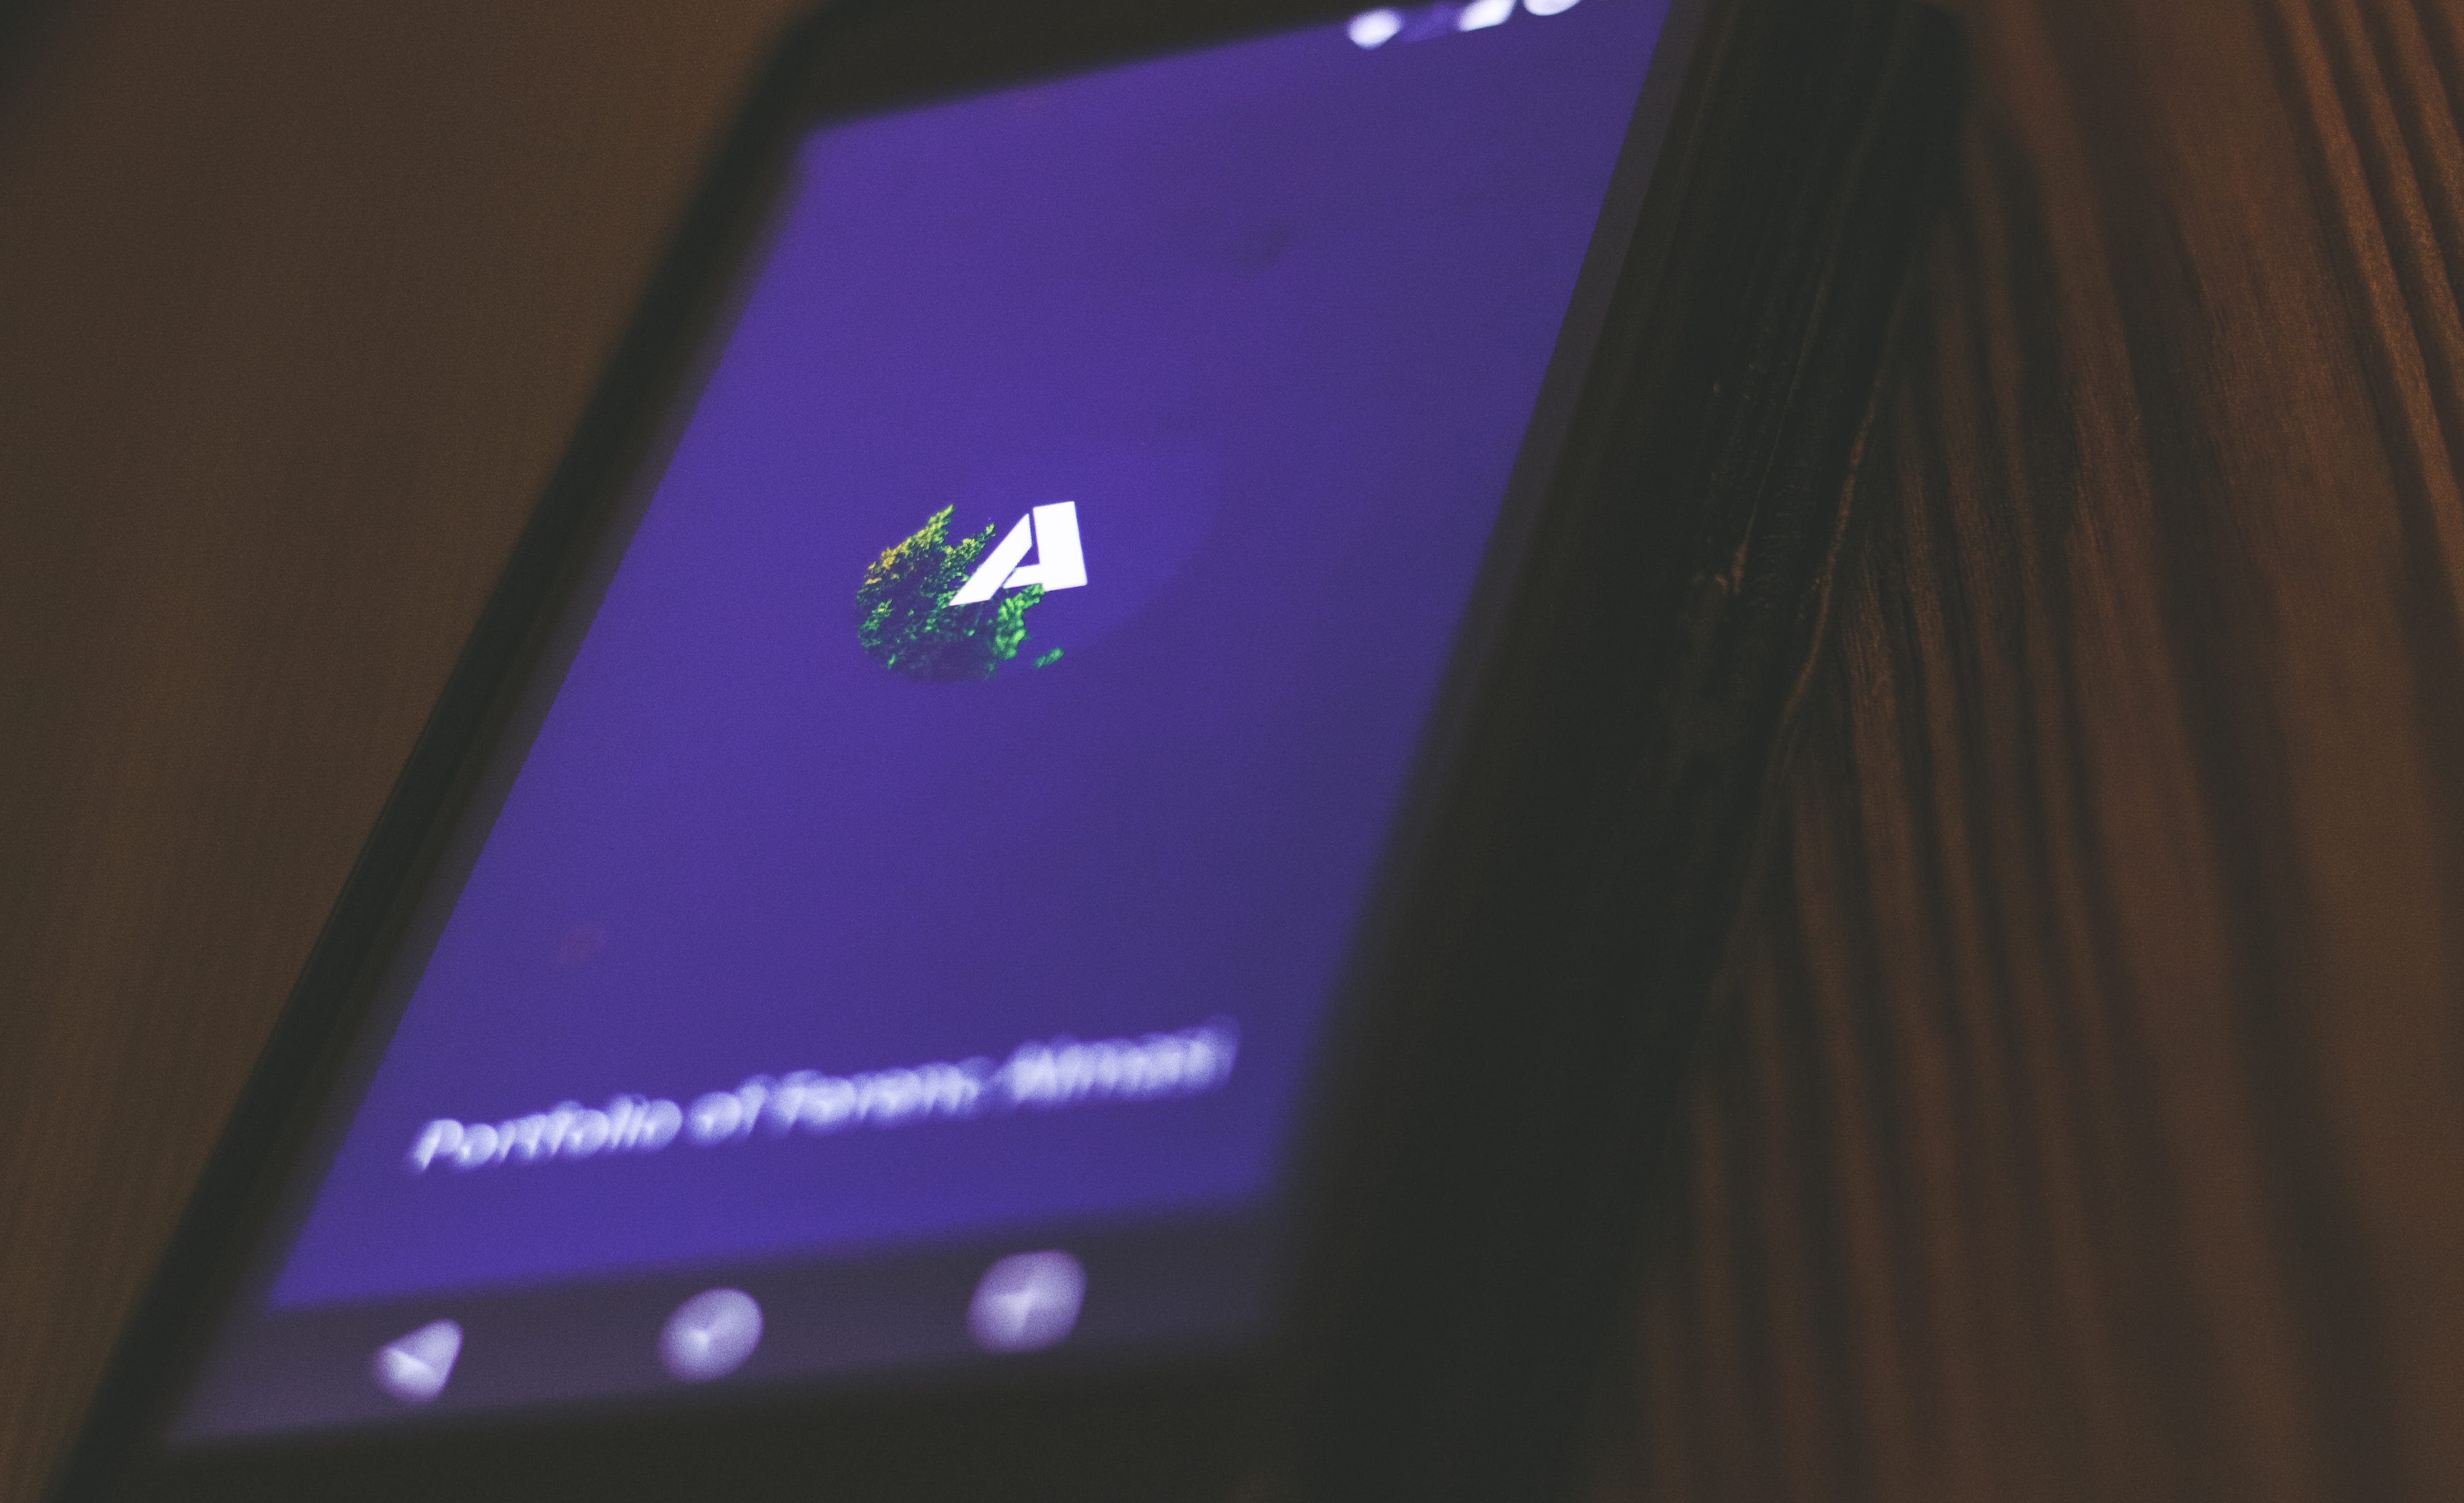
When everything is in place, navigating to your site in Chrome. It will give you a prompt whether you want to install it. If you do so, the icon will appear with the short_name on your home screen. Tapping on the icon opens up the app in fullscreen and you can see from the gif below that it uses the theme_color as the background and the icon again with the name written underneath.


Rocket Launch Your Career
Speed up your learning progress with our mentorship program. Join as a mentee to unlock the full potential of Webtips and get a personalized learning experience by experts to master the following frontend technologies:
Courses


Recommended
Learn How to Easily Make Bookmarklets