How to Build a Pagination Component in Vanilla JavaScript
Pagination is an integral part of any application that consists of many different pages. They not only help us keep pages slimmer but also has a positive impact on performance as well. There are a lot of JavaScript libraries and implementations for frameworks that you can quickly pull into your project to get yourself up and running with pagination. However, it can also be achieved in vanilla JavaScript without any framework or library relatively easy.
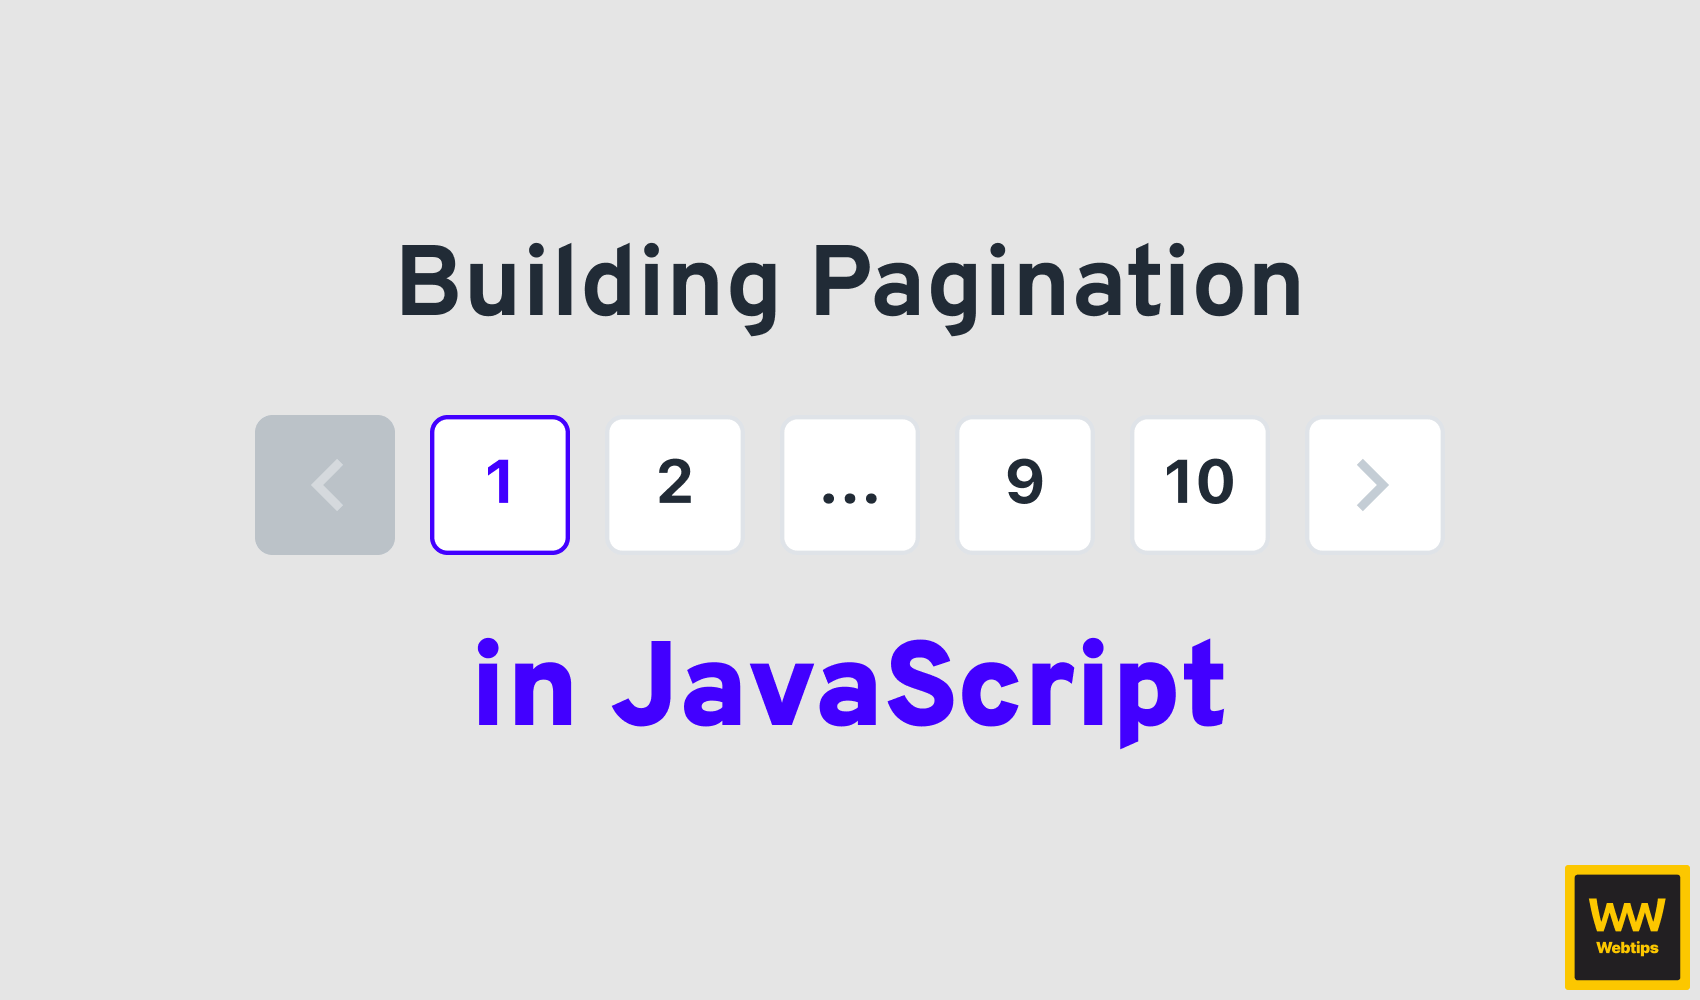
In this tutorial, we are going to take a look at how to implement a pagination component purely in vanilla JavaScript. The entire project is hosted on GitHub if you would like to grab the code in one piece. This will be the final look of the component we are going to build.

How Pagination Works
First things first, how does pagination actually work? Pagination works by rendering a link to each page to make it available for users to easily navigate between pages. But why do we need pagination in the first place?
If you have hundreds or even thousands of pages, rendering everything at once into a single page would simply crash your browser because of the amount of data it would need to render. Even if you manage to get away with rendering, it will likely be so slow that it will drive users away.
It also has SEO benefits, as users are easily able to bookmark a certain page without having to scroll through hundreds of results just to find the one they bookmarked. This means pages can be shared more easily.
Another common way to implement pagination is to use an infinite scroll, like on the home page of this site. Once you scroll close to the bottom of the results, a new batch of results is added to the end of the page automatically, creating the illusion that you can scroll infinitely.
In both cases, the resultset is broken down into chunks based on an offset and limit:
- Grab the first 10 items:
offset: 0, limit: 10 - Grab the items from 10 to 20:
offset: 10, limit: 10 - Grab the items from 20 to 30:
offset: 20, limit 10 - And so on
Set Up the HTML
Without further ado, let's start off by setting up the HTML. For this project, we are only going to need an empty DOM element where we can inject the entire pagination with JavaScript.
<!DOCTYPE html>
<html lang="en">
    <head>
        <meta charset="UTF-8" />
        <meta http-equiv="X-UA-Compatible" content="IE=edge" />
        <meta name="viewport" content="width=device-width, initial-scale=1.0" />
        <link rel="stylesheet" href="./pagination.css" />

        <title>📖 Pagination Component in Vanilla JS</title>
    </head>
    <body>
        <div class="pagination"></div>

        <script src="./pagination.js"></script>
    </body>
</html>
I have also added some CSS to make it more user-friendly, I'm using this design from Figma. There is nothing particularly interesting from CSS side that would need further explanation, apart from the fact that we want to give different styles to the previous, next, current, and disabled elements. You can find the full list of styles associated with the projects in this GitHub repository.

Create a Paginate Function
Now let's focus our attention on creating a paginate function, that will create all the necessary links for us. Create the pagination.js file if you haven't already, and add the following empty function:
const paginate = (pages, selector) => { ... }This function will take in the pages as well as a DOM selector in which it will inject the HTML for the pagination. First, however, we need to make sure it gets the list of pages in the correct format. For this, I have created some mock data:
const pages = [
    { url: '/page1' },
    { url: '/page2' },
    { url: '/page3', current: true },
    { url: '/page4' },
    { url: '/page5' },
]
The pages are supposed to be stored in an array, each page having a URL, and one of the pages needs to have a current flag that indicates that we are currently on this page. Ideally, we should receive the list of URLs from a backend API.
So how do we decide which one is the current page? We can use document.location.pathname to check against the URL of the page, and if they match, we can set it as the current page. Now that we have the data set up, we can call the paginate function at the end of our JavaScript file:
paginate(pages, '.pagination')Make sure you pass the correct selector as the second parameter, as we are going to use it inside the function to append it to the correct element.
Grabbing the index for the current page
The very first thing we want to do inside the paginate function is to grab the index for the current page. The reason we need this, is we want to set the correct URL for the previous and next buttons, which we can only do based on the current page. To grab the index of the current page, we can use the following one line of code:
const paginate = (pages, selector) => {
    const currentPageIndex = pages.findIndex(page => page.current)
    ...
}
There is an array method in JavaScript called findIndex which can be used exactly for that. To find the index of an element inside an array, where the condition in the passed callback function is true. This will either return the index of the element, or -1 if no element is found. This is basically the same as saying:
The function needs to return with true, and it will only do so for the page where the current property is set to true.
Creating the HTML
Now that we have the index for the current page, we can look into setting up the HTML. For this, we can use a template literal to make things more readable. Let's first create the previous and next buttons:
const html = `
    <ul class="pagination-list">
        <li class="previous">
            ${pages[0].current ? `
                <span>‹</span>
            ` : `
                <a href="${pages[currentPageIndex - 1].url}">‹</a>
            `}
        </li>
        We need to inject the rest of the buttons here
        <li class="next">
            ${pages[pages.length - 1].current ? `
                <span>›</span>
            ` : `
                <a href="${pages[currentPageIndex + 1].url}">›</a>
            `}
        </li>
    </ul>
`
Since we are using template literals, we can correctly indent the HTML markup. Everything will go inside an unordered list, including the previous and next buttons too. Notice that inside each li, we created a ternary to conditionally render elements as needed.
For the previous button, we want to check whether the very first element in the array is the current page. If it is, we can display a span, as we cannot go to the previous page - we are already on the first page.
The logic for the next button is reversed. We want to get the very last item of the array and check if that is the current page, and if so, display a span. Otherwise, render the anchor.
Notice that for the anchors, we use the currentPageIndex we have defined previously. The currentPageIndex tells us the index of the currently active page so that we can add the correct URL for the previous and next buttons:
currentPageIndex - 1for the previous pagecurrentPageIndex + 1for the next page
Creating links for each page
All that is left to do is to add the links for the rest of the pages between the previous and next buttons. For this, we can use a map:
${pages.map((item, index) => `
    <li${item.current ? ' class="current"' : ''}>
        ${item.current ? `
            <span>${index + 1}</span>
        ` : `
            <a href="${item.url}">${index + 1}</a>
        `}
    </li>
`).join('')}
We need to map through the passed pages array and display an li for each item. Again, we can use a ternary to decide if the page in the loop is the current page or not. For current pages, we can display a span, as it makes no sense to navigate the user to the same page, and for the rest, we can display an anchor with the item's URL + the index.
Map starts from 0, so make sure you display index + 1 to start counting from one.
There are two additionals things we need to note here:
- Using another ternary, we can conditionally add a
.currentclass name to style theliappropriately. - At the end of the
map, we get back an array, which we need to convert back into a single string, which we can do so usingjoin. Otherwise, you will get a comma displayed between each list item.
Appending everything to the DOM
We can append all of this into our empty div using just one line of code:
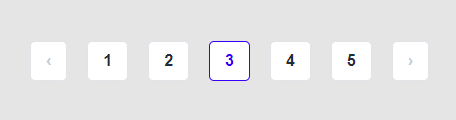
document.querySelector(selector).innerHTML = htmlAnd this should get the following pagination component rendered to your page:
Adding support for options
You can also enhance this implementation by adding an options object as the third parameter for the function that can take in various parameters to customize how the pagination component is display.
For example, we might introduce a flag to turn on/off the previous and next buttons, using the following function call:
paginateWithOptions(pages, '.pagination', {
    showPreviousAndNext: false
})
If you are dealing with multiple parameters, use a configuration object instead of individual parameters for improved readability.
Now, of course, we need to modify our original function too. First, we can use destructuring to grab all of the necessary options right at the top of the function:
const paginateWithOptions = (pages, selector, options) => {
    const {
        showPreviousAndNext
    } = options

    ...
}
Next, we can modify the HTML accordingly. Since we want the previous and next buttons to be hidden or shown based on this flag, we can wrap the li inside a ternary, and only display it if the option is set to true.
const html = `
    <ul class="pagination-list">
        ${showPreviousAndNext ? `
            <li class="previous">
                ${pages[0].current ? `
                    <span>‹</span>
                ` : `
                    <a href="${pages[currentPageIndex - 1].url}">‹</a>
                `}
            </li>
        ` : ''}
        ...
`Summary
You can implement as many other options this way as you would like. For example, some configuration options that are could be likely used for paginations:
openInNewTab: A flag to tell whether the links should be opened in a new tab or notshowDots: Whether dots should be shown for long list of pagesmaxPagesShown: The max number of pages to be displayed at any given time
If you would like to grab the source code in one piece, it is available in this GitHub repository. Have you built a pagination components before? What were your biggest challenges? Let us know in the comments below! Are you looking for JavaScript project ideas? Check out our 100 JavaScript Project Ideas:


Rocket Launch Your Career
Speed up your learning progress with our mentorship program. Join as a mentee to unlock the full potential of Webtips and get a personalized learning experience by experts to master the following frontend technologies:
Courses


Recommended

What is Fresh? - First Look at the Framework for Deno
How to Open Any File in Javascript with Progressbar