Making Your React App Multilingual With Vanilla JavaScript
Turning your site into a multilingual paradise was a pain back in the old days. If you wanted translations to happen without a page reload you would have to go the extra mile.
Luckily nowadays we have plenty of options to choose from. New libraries popping up every week, there’s not a single framework for which you can’t find a specific tool.
This tutorial is not going to be about how to use an already existing one, however. We are going to look behind the scenes and see how we can implement our own localization service, customized to our own needs without any external dependencies.
The only thing you will need is a React application and some spare time. So without taking your time any longer, let’s jump into it.
Bootstrapping React
To avoid building up a React application from scratch, but still cover everything from the start, I decided to go with create-react-app. To bootstrap the app, run npx create-react-app i18n, where i18n will be the name of the folder. npx comes with npm above version 5.2, so you should already have it.
If you have create-react-app installed globally, uninstall it with uninstall -g create-react-app to ensure that npx uses the latest version.
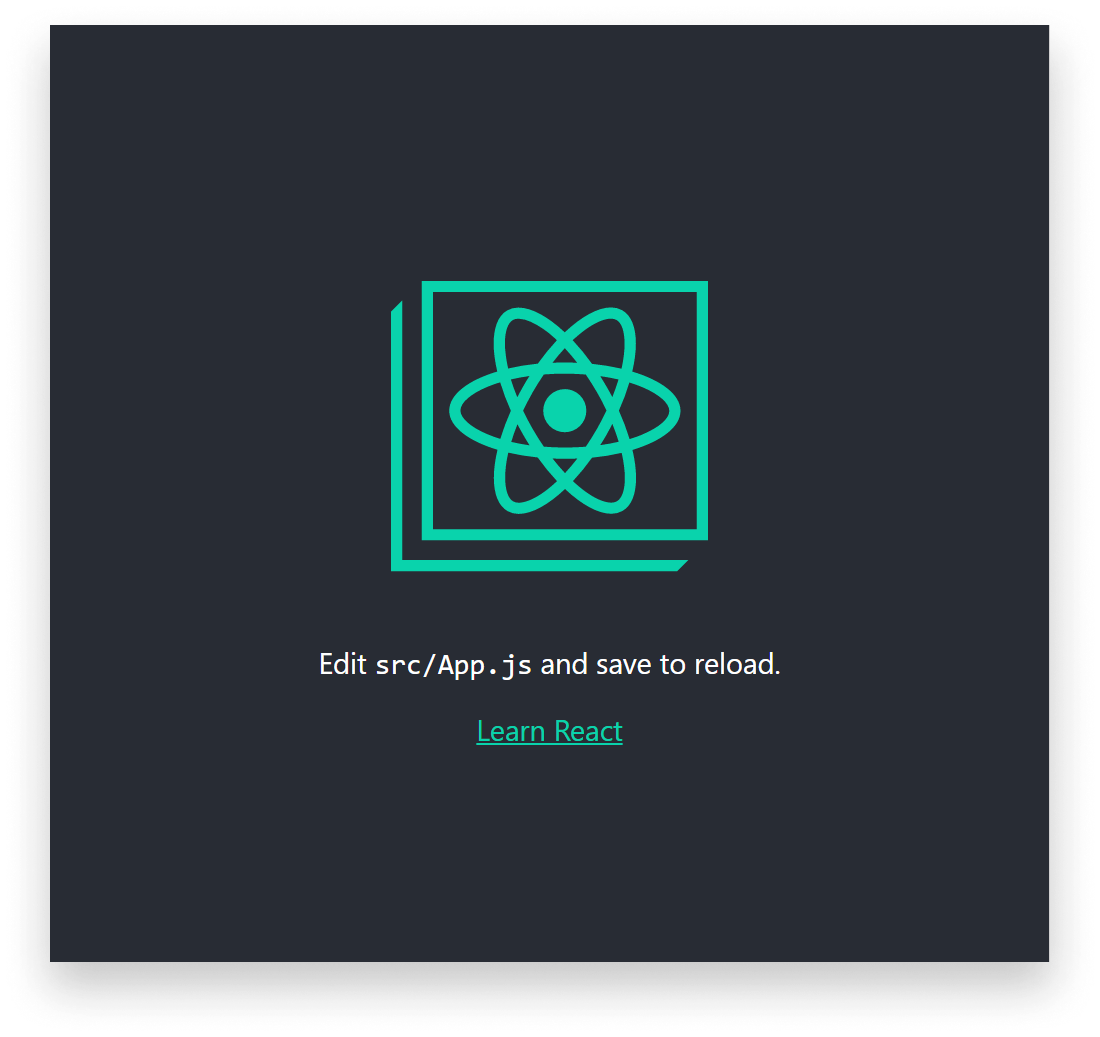
Running npm run start should present you with the following:
Creating The Service
Let’s start by adding some folders and files to outline the project structure. Just to keep things separated, I created a new folder for the service and called it localizationService. I also added an i18n folder which will hold all localization keys, with each language being in its own separated file.

Each language file will export an object that holds all strings used in the app:
export default {
    'learnReact': 'Learn React'
};Inside the components we want to use keys with interpolations like this: {i18n('learnReact')} will resolve to “Learn React”, in case the site is displayed in English. It will display the Hungarian translations if hu.js is loaded in.
So to start off, we need to import the language files into the service. We can create an object that holds all languages and we want to make sure we expose the keys to the window.
import en from '../i18n/en'
import hu from '../i18n/hu'

const languages = {
    en,
    hu
};

let defaultLanguage = window.navigator.language === 'en' ? 'en' : 'hu';

window.i18nData = languages[defaultLanguage];I also added a defaultLanguage variable which checks the browser’s language. If it’s English, we populate i18nData with English values, otherwise we fallback to Hungarian.
To get a localization value for a given key, we can add the i18n function. In its simplest form, its only purpose is to return the string based on the provided key:
window.i18n = (key) => window.i18nData[key];
Using The Service In Components
To check the service in action, I added two new buttons below the “Learn React” link, they will be used to switch languages:
<img src="https://bit.ly/2NR57Sj" alt="en" data-language="en" onClick={this.changeLanguage} />
<img src="https://bit.ly/36C7DV5" alt="hu" data-language="hu" onClick={this.changeLanguage} />Clicking on the image will call the changeLanguage method where we pass in data-language to decide which language to activate. Then we need to rerender the component to make the change visible.
Right now, our App is a stateless functional component so we don’t have access to this.forceUpdate, which is used for forcing rerender. To fix this, convert your App function into a class, then we can add the changeLanguage method:
import './services/localizationService';

class App extends React.Component {

    changeLanguage = (e) => {
        window.changeLanguage(e.target.dataset.language);
        this.forceUpdate();
    }

    render() {
        return (
            ...
        );
    }
}Also, import the localization service to use it inside the component. We haven’t defined window.changeLanguage yet, so let’s go back to the localizationService and expand it with the following function:
window.changeLanguage = (lang) => {
    window.i18nData = languages[lang];
}We simply reassign i18nData to the language passed as a parameter. To try it out in the component, replace “Learn React” with {i18n(‘learnReact’)}.
If you bootstrapped the app with create-react-app, ESLint will throw an error for using an undefined variable. To configure it properly, you can run npm run eject to get access to the configuration files and add a rule inside globals in your .eslintrc file:
{
    "globals": {
        "i18n": false
    }
}Or to make it go away right now without ejecting, simply add the following line to the top of your file:
/* global i18n */
You can now call changeLanguage to change the translations inside i18nData.

Combining it with a force update, it will trigger a rerender which makes the site change language.

Adding Parameter Support
Right now, the service is pretty basic, it can only return static strings. But what if we want to have parameters? Say we have a string that displays weather conditions and we have the following string: “Today it’s 32 degrees”. Obviously it’s not always 32°C, it can change so we preferably want to pass that as a parameter, for example: {i18n(‘weatherCondition’, 32)}
To detect where to inject params into the string we need a special syntax for interpolation. Most templating engines use curly braces so we can go with that convention. To allow the insertion of multiple params, we can also number them, starting from 0, so we can denote params with: {0}, {1}, {2}, and so on.
To stay with the example above and putting everything together, we would write the string inside the language files as “Today it’s {0} degrees” where {0} will represent the first param and will be replaced by the variable passed into the i18n function.
Keeping everything in mind mentioned above, we can expand the localization services with the following lines:
window.i18n = (key, params) => {
    if (params || params === 0) {
        let i18nKey = window.i18nData[key];

        if (typeof params !== 'object') {
            i18nKey = i18nKey.replace('{0}', params);
        } else {
            for (let i = 0; i < params.length; i++) {
                i18nKey = i18nKey.replace(`{${i}}`, params[i]);
            }
        }

        return i18nKey;
    } else {
        return window.i18nData[key];
    }
};Our i18n function now accepts a second parameter: params. If there is no param passed, we go with the initial solution: return window.i18nData[key]. If we have a param, (we need to check for 0 explicitly otherwise the if would be evaluated as false) we create a new variable called i18nKey, this is what we will return.
At the start, its value will be the bare string we get from i18nData. To transform it, we need to first check whether the params we passed in is an object since we can have multiple parameters coming in, preferably as an array. If we have a single value, we can just replace {0} with the param that has been passed into the function. Otherwise, we loop through the array and replace each value with the one that has been passed into the function.
To test it out, add a new key to the language files:
'weatherCondition': 'Today it\'s {0} degrees'and call it inside the component to see it resolved. It will also work with multiple params:
// this will output "Today it's 32 degrees"
<p>{i18n('weatherCondition', 32)}</p>

// Replace the localization text with the following: "Today it's {0} degrees{1}"
// this will output "Today it's 32 degrees!"
<p>{i18n('weatherCondition', [32, '!'])}</p>Adding Choice Pattern Support
It is starting to come together but what if we have an even more complex translation? Consider the following: we want to display when a user updated their settings, so we have a localization key that says: “updated x days ago”. This string can have multiple variants based on the parameter, it can either be:
- updated 1 day ago
- updated 10 days ago
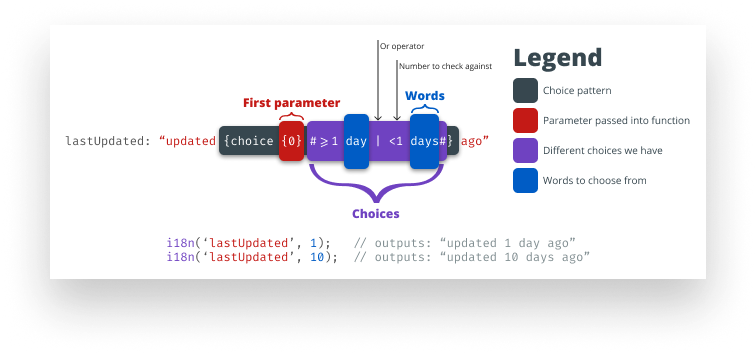
Depending on the number of days, the word “day” can take on multiple forms. This is where choice patterns come into place. Let start with the example string again and see how we want to write the pattern inside the language files:
'lastUpdated': 'updated {choice {0} #>=1 day | <1 days#} ago'We put everything inside curly braces and we can denote a choice pattern with the word “choice” inside it followed by the parameter. Between hashtags we can define an operator with a number, followed by the word to use, eg.:
- In case the parameter is less than or equal to 1, we use the word “day”
- In case it is greater than 1, we use the word “days”
And we can define more variations by piping them together.
To recognize such patterns we will have to use regexes. If you are not familiar with regexes, I have an article on the subject which you can reach here.
Extending the i18n function with the following if statement will make choice patterns possible:
// Parse choice patterns
const choiceRegex = /{choice[a-zA-Z0-9{}\s<>=|#]+}/g;
const choicesRegex = /#[<>=0-9a-zA-Z|\s]+#/g

if (i18nKey.match(choiceRegex)) {
    for (const choicePattern of i18nKey.match(choiceRegex)) {
        const decisionMaker = parseInt(choicePattern.replace(choicesRegex, '')
                                           .replace('{choice', '')
                                           .replace('}', '')
                                           .trim(), 10);

        const choices = choicePattern.match(choicesRegex)[0]
                                     .replace(/#/g, '');

        const operators = choices.match(/[<>=]+/g);
        const numbers = choices.match(/[0-9]+/g).map(num => parseInt(num, 10));
        const words = choices.match(/[a-zA-Z]+/g);

        let indexToUse = 0;

        for (let i = 0; i < words.length; i++) {
            switch (operators[i]) {
                case '<':  indexToUse = numbers[i] < decisionMaker ? i : indexToUse; break;
                case '>':  indexToUse = numbers[i] > decisionMaker ? i : indexToUse; break;
                case '<=': indexToUse = numbers[i] <= decisionMaker ? i : indexToUse; break;
                case '>=': indexToUse = numbers[i] >= decisionMaker ? i : indexToUse; break;
                case '=':  indexToUse = numbers[i] === decisionMaker ? i : indexToUse; break;
                default: indexToUse = numbers[i] === decisionMaker ? i : indexToUse; break;
            }
        }

        i18nKey = i18nKey.replace(choicePattern, [decisionMaker, words[indexToUse]].join(' '));
    }
}To break it down, we have two regexes; one for the choice pattern and one for the choices inside it. If we have a match we create some variables:
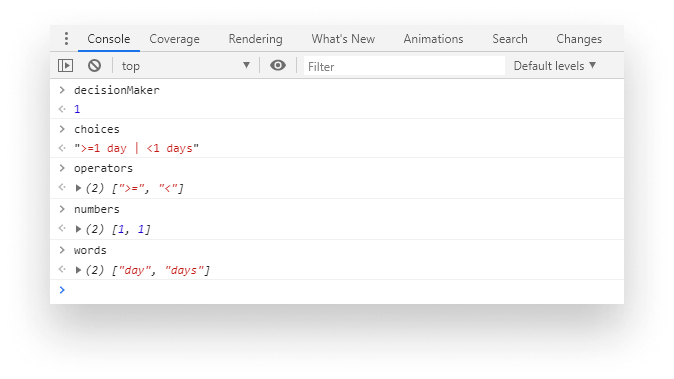
We want to get the correct form of the word from the choice pattern. To do so, we loop through the words from line:21 and switch between their corresponding operators. If the number passed into the function produces a truthy value based on the operator and the number after it, we assign the new index to it.
Lastly, on line:32 we replace the choice pattern with the passed param and the word joined together with a white space.
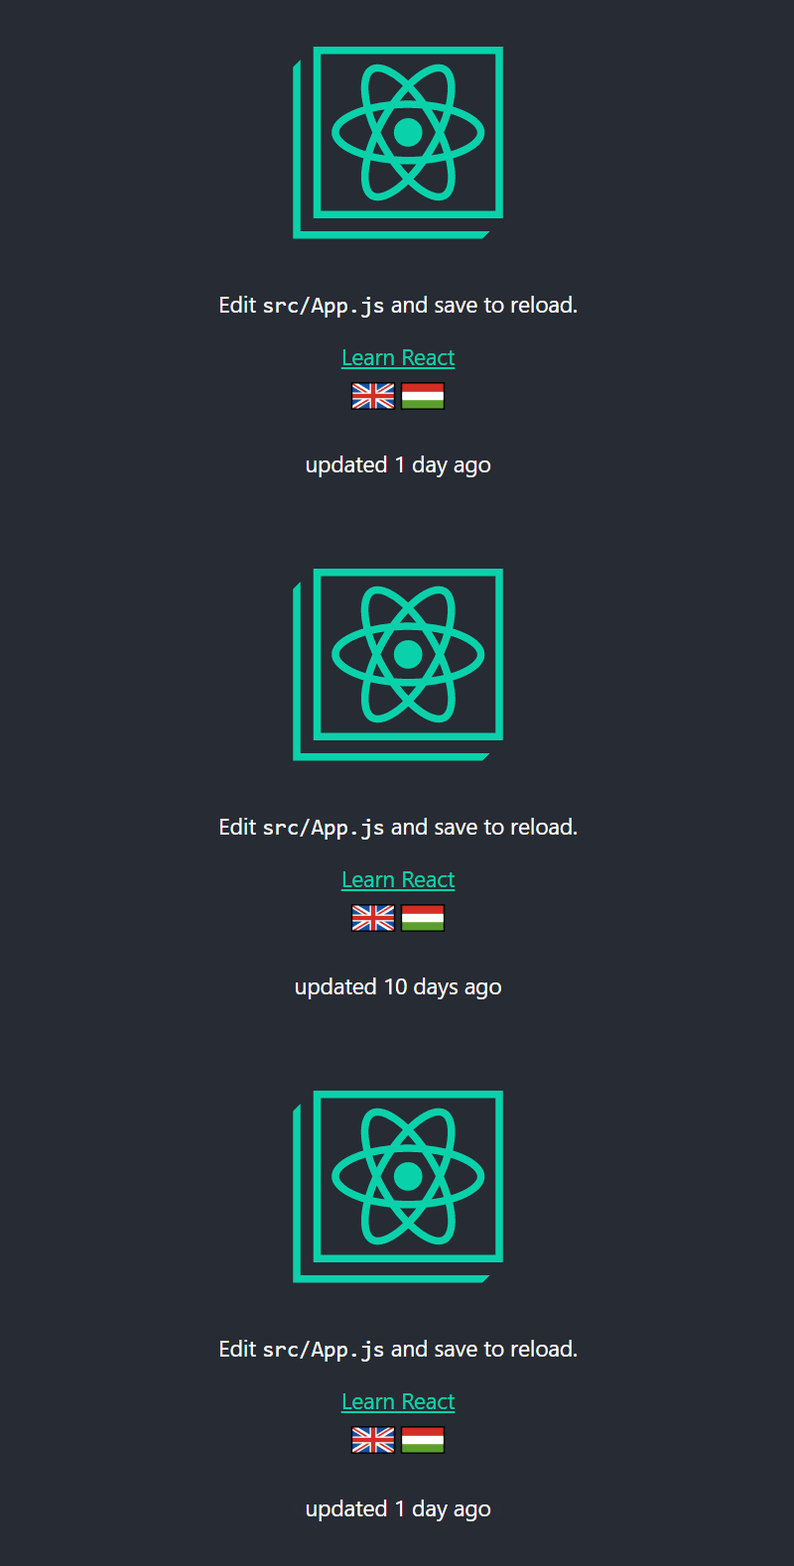
<p>{i18n('lastUpdated', 1)}</p>If you add this new paragraph to the component you will see the choice pattern in action. Changing 1 to 10 will also change “day” to “days”:
Possible Improvements
This is working as intended and we can generate some pretty complex translations with it but as everything, this can be further improved too. To give you some ideas, you can:
- Migrate the languages to the backend and only request the one that is used on the site. This way you avoid pulling in all languages on the client.
- To avoid pollution of the global namespace, put every function exposed by the localization service into one container object
- The choice pattern can only accept single words, add support for sentences
Wrapping it up, we can see that dealing with localizations is not a magical thing, knowing the key concepts, you can easily implement your own version and have the advantage of reaching users outside the borders. 🌍

Rocket Launch Your Career
Speed up your learning progress with our mentorship program. Join as a mentee to unlock the full potential of Webtips and get a personalized learning experience by experts to master the following frontend technologies:


