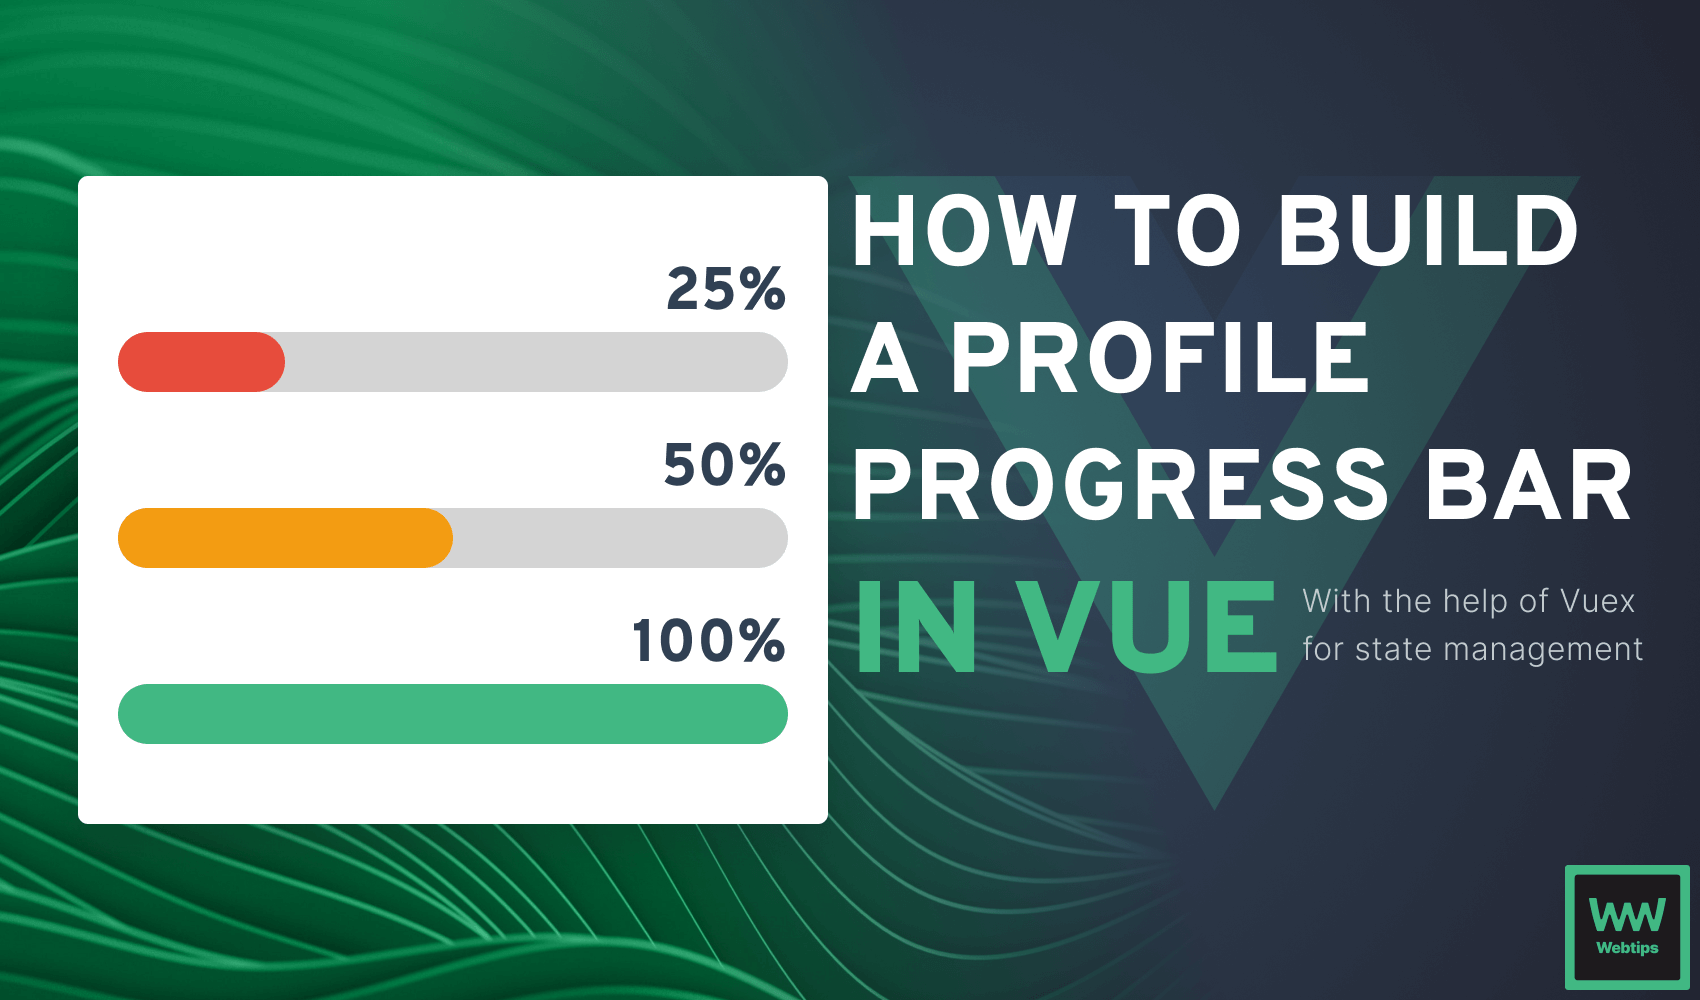
Building an Interactive Profile Progress Bar with Vue.js
User engagement plays a pivotal role in the success of digital applications. Profile progress bars are not just visual elements; they serve as crucial guides, motivating users to complete their profiles and tasks.
They offer a clear view of progress, instilling a sense of achievement and commitment. These bars enhance user-friendliness by simplifying the user journey, ensuring a seamless experience. In this article, we’ll explore the creation of such profile progress bars using Vue.js, leveraging its capabilities to engage users effectively.
Vue.js is a progressive JavaScript framework that empowers developers to create dynamic and interactive components. It’s often celebrated for its simplicity and approachability, making it an ideal choice for those looking to create dynamic components like profile progress bars. In this tutorial, we’ll leverage the capabilities of Vue.js to craft a profile progress bar that not only looks appealing but also enriches the user experience.

Prerequisites
Before we dive into building a profile progress bar in Vue, it’s essential you have some foundational knowledge to make the most out of this tutorial. Here are the prerequisites to ensure you're well-prepared:
- A code editor.
- Basic knowledge of Vue.js as we’ll be building with Vue3.
- Knowledge of Vuex, which we'll use for state management.
You can find the complete source code in one piece on GitHub.
Setting Up the Project
Vue.js, as stated above, is a powerful JavaScript framework that simplifies the process of creating interactive web applications. If you haven’t already, make sure you have Node.js and npm (Node Package Manager) installed on your system, as we'll be using them to set up our project. Navigate to the directory where you want to create your project and run:
npm create vue@latestSelect the tools needed to set up and create your project. After creating your project, navigate to its directory. For the sake of this tutorial, let’s name our project directory profile-progress-bar.
cd profile-progress-barIn the project directory, navigate to the src folder. Here, you can create a new folder called components (if you don’t already have one) to house our Vue components. For our profile-progress-bar project, we'll create the following components:
ProgressBar.vue: This component will represent the profile progress bar itself.ProfileSection.vue: This component will represent the profile form.
With our project structure in place, we're ready to move on to designing the visual representation of the profile progress bar.

Creating the Progress Bar
In the ProgressBar.vue component, we'll create a div bearing progress-bar-counter class to indicate the progress:
<template>
    <div style="margin: 100px auto">
        <div>
            <p class="title">Profile Progress Bar - {{ percentage }}%</p>
        </div>
        <div class="progress-bar-wrapper">
            <div class="progress-bar-counter" :style="{width: `${percentage}%`}"></div>
        </div>
    </div>
</template>

<script setup>
    import { ref } from 'vue';
    const percentage = ref(50);
</script>

<style scoped>
    .progress-bar-counter {
        background: green;
        height: 30px;
        border-radius: 100px;
        transition: width 0.5s ease; /* Smoothly transition width changes over 0.5 seconds */
    }
</style>Note that the code above shows a width of 50%, indicating that the user has a 50% ready profile.
The :style (width) is bound to the progress-bar-counter element, because it's dependent on the percentage value.
The transition style helps to create a smooth animation on width increase or decrease. You can try increasing or decreasing the percentage value to observe the changes on the progress bar.
Creating the Profile Section
In ProfileSection component, we'll create a form containing the following fields: name, age, school, and degree. Each of these input values will represent 25% of the user profile bar. A save button will be added to save the profile on click:
<template>
    <p style="font-size: 30px; font-weight: 600;">User Profile Details</p>
    <form>
        <label>
            <span>Name</span>
            <input type="text" v-model="userDetails.name" />
        </label>
        <label>
            <span>Age</span>
            <input type="number" v-model="userDetails.age" />
        </label>
        <label>
            <span>School</span>
            <input type="text" v-model="userDetails.school" />
        </label>
        <label>
            <span>Degree</span>
            <input type="text" v-model="userDetails.degree" />
        </label>
        <button class="save-button">Save</button>
    </form>
</template>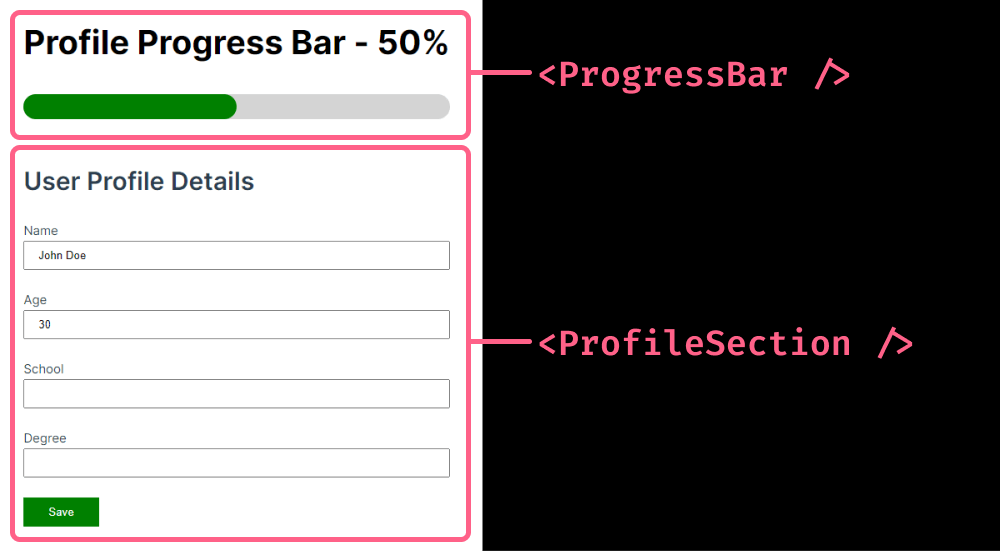
ProgressBar + ProfileSection componentsImplementing Progress Tracking
Let's move on to tracking the user profile status. We'll make use of the Vuex store for state management. The user profile will be stored in the store and assessed in the ProgressBar components, where it'll be used to automatically adjust the percentage value and the width of the progress-bar-counter.
In the Vuex store, create a userProfile state and an action that commits the updateUserProfile mutation to update the userProfile state and also the setProfilePercentage that recalculates the percentage based on the number of filled inputs or provided values:
import { createStore } from 'vuex';

export default createStore({
    state() {
        return {
            userProfile: {
                name: '',
                age: '',
                school: '',
                degree: ''
            },
            profilePercentage: 0
        };
    },
    actions: {
        updateProfile: ({ commit }, userDetails) => {
            // Update the userProfile with the provided key and value
            commit('updateUserProfile', userDetails);

            // Recalculate the profilePercentage
            commit('setProfilePercentage');
        }
    },
    getters: {
        getUserProfile: (state) => state.userProfile,
        getPercentageValue : (state) => state.profilePercentage
    },
});
To update the progress bar, we have to watch for whenever there's an update on the user profile details form. Let’s say the user inputs their name, that's a single input, we need to send the value to the store.
The store collects this data via the updateProfile action and commits updateUserProfile, which updates the userProfile state and also commits setProfilePercentage to update the progress bar based on how many values have been inputted through mutations:
mutations: {
    // This mutation is used to update the userProfile
    updateUserProfile: (state, userDetails) => {
        state.userProfile = {...userDetails};
    },

    setProfilePercentage: (state) => {
        // Count the number of filled fields in userProfile
        const filledFields = Object.values(state.userProfile).filter(value => value !== '').length;

        // Calculate the profilePercentage based on the filledFields
        state.profilePercentage = filledFields * 25;
    }
}You can find the complete source code in one piece on GitHub.
If the user has just the name field value, the profile would be 25% completed. So, for each value, we have 25% added to the profile progress bar. Now, let’s go ahead and update the components.
Inside ProfileSection.vue, add a script section and add the saveDetail function to the save button as seen below:
<template>
    <form>
        ...
        <button class="save-button" @click="saveDetail">Save</button>
    </form>
</template>

<script setup>
   import { ref } from 'vue';
   import { useStore } from 'vuex';

   const store = useStore();
   const userDetails = ref(store.getters.getUserProfile);

   const saveDetail = e => {
       e.preventDefault();
       store.dispatch('updateProfile', userDetails.value);
  };
</script>In the ProgressBar component, change the percentage value to be a computed value that is obtained from the store, as seen below:
<template>
    ...
</template>

<script setup>
   import { ref, computed } from 'vue';
   import { useStore } from 'vuex';

   const store = useStore();
   const percentage = computed(() => store.getters.getPercentageValue);
</script>And that’s it!!! Voila!!! You have a progress bar that updates when the user fills up any of the input fields.
Implementing User Feedback Through Tooltips
In this section, we’ll look at the various strategies and techniques for enhancing the user experience. Let’s proceed to add a popup to the ProgressBar.vue component.
We'll modify the Profile Progress Bar title so that on hover, if the percentage is not up to 100% the user gets a message to update their profile.
<template>
    <div style="margin: 50px auto">
        <div @mouseover="showTooltip = true" @mouseleave="showTooltip = false">
            <p class="title" style="cursor: pointer">Profile Progress Bar - {{ percentage }}%</p>
            <transition name="fade">
                <div class="tooltip" v-if="showTooltip && percentage !== 100">
                    <p>Complete each field to boost your profile!</p>
                </div>
            </transition>
        </div>
        <div class="progress-bar-wrapper">
            <div class="progress-bar-counter" :style="{ width: `${percentage}%` }"></div>
        </div>
    </div>
</template>

<script setup>
    import { ref, computed } from 'vue';
    import { useStore } from 'vuex';

    const store = useStore();
    const showTooltip = ref(false);

    const percentage = computed(() => store.getters.getPercentageValue);
</script>In the ProgressBar component, modify the progress bar counter color so that the background color is dependent on the percentage, as shown below:
<template>
    <div style="margin: 50px auto">
      <div>...</div>
      <div class="progress-bar-wrapper">
        <div
            class="progress-bar-counter"
            :style="{
                width: `${percentage}%`,
                background: [
                    percentage < 50 && 'red',
                    percentage >= 50 && percentage < 100 && 'yellow',
                    percentage === 100 && 'green'
                ]
            }"
        ></div>
      </div>
    </div>
</template>Note: You can customize your strategies and techniques to suit your design system.
If you have gotten to this point in the tutorial, you should have a working progress bar for the user profile. Congrats!!!
Conclusion
In conclusion, we've explored the creation of an engaging profile progress bar using Vue.js. Such interactive elements greatly enhance user engagement and satisfaction.
As you delve deeper into Vue.js capabilities, you'll find endless opportunities for customization and innovation. Remember, a user-centric approach is paramount for ensuring a seamless profile completion experience, setting the stage for more engaging and user-friendly applications.

Rocket Launch Your Career
Speed up your learning progress with our mentorship program. Join as a mentee to unlock the full potential of Webtips and get a personalized learning experience by experts to master the following frontend technologies:
Courses


Recommended
How to Manage Multilayered Attribute Filtering in React