
How to Render React on the Server-Side With Next.js
Next.js is a framework for React that lets you render your pages on the server-side instead of doing it on the client. It comes with a handful of cool features already built-in, such as code splitting, routing, pre-fetching, support for CSS modules or Typescript, and much more.
In this tutorial, we are going to build a simple application that will fetch and display quotes from famous people that we can later filter by author. This way, we can have a look at how you can set up a new Next.js project, how to add pages and public assets such as images, how to add routing and style your pages, or how to fetch data from an API.

How to Set Up Next.js
Fortunately, to set up a Next.js project, you won’t have to do much as the framework doesn’t require any configuration. Create a new folder and run npm init -y to create an empty package.json file with the default values, then install these three dependencies:
npm i next react react-dom
Next, modify your package.json file and add these three new scripts:
"scripts": {
    "dev": "next dev",
    "build": "next build",
    "start": "next start"
},Now you can run npm run dev to start a development server. The other two scripts are used for production builds:
next build: Creates a production build for the applicationnext start: Starts a production server for Next.js
How to Add Pages and Public Assets
However, once you run npm run dev, you will notice that you get an error saying:
Error: > Couldn't find a pages directory. Please create one under the project root
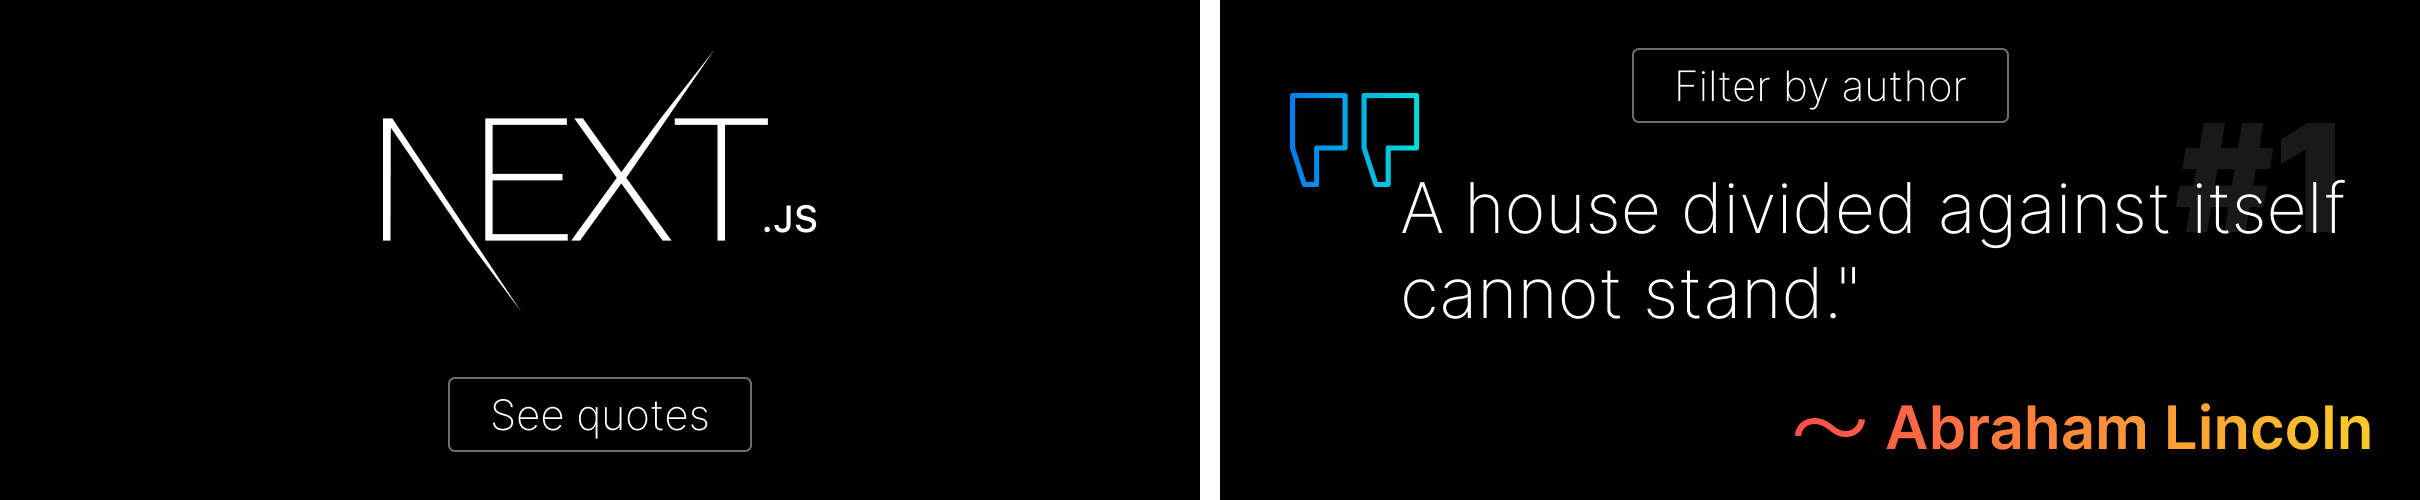
So let’s create some pages. On the front page, we will have a logo and a button to navigate to the quotes. Create a new folder called pages in your root directory and add an index.js file:
import Link from 'next/link'

const Index = () => (
    <>
        <img src="next.svg" alt="logo" />
        <div>
            <button>
                <Link href="/list">See quotes</Link>
            </button>
        </div>
    </>
);

export default Index;As you can see, Next exposes a Link component that you can use for different routes. To navigate to /list, create a new file under the pages folder, called list.js. Whatever you name your components can be accessed through a slug in the browser. For now, just return an empty div.
const List = () => <>We will display the quotes here...</>;

export default List;You may also noticed that we are referencing an image inside index.js. To add publicly available static assets, you want to create a public folder and add your images (or fonts) there.
How to add core HTML elements
As there is no index.html there’s no way at the moment to add meta tags or even customize the title for the page. Luckily, Next also has a built-in Head component that you can use just for this case. Under pages, create an _app.js file; this will act as an entry for the app:
import Head from 'next/head'

const App = ({ Component, pageProps }) => (
    <>
        <Head>
            <title>Next quote</title>
            <link rel="icon" href="/favicon.ico" />
        </Head>
        <main>
            <Component {...pageProps} />
        </main>
    </>
);

export default App;Between the Head elements, you can add anything you would normally do. As by default, this file acts as an entry in Next.js, you also need to render every other component here. This is what you can see on line:10. You get both the Component and pageProps from the properties.

How to Style Your Pages
The page looks pretty boring at the moment, so let’s add some styles. In order to add CSS, you could use a style tag at the end of your components, like so:
const Index = () => (
    <>
        <img src="next.svg" alt="logo" className="logo" />
        <div>
            <button>
                <Link href="/list">See quotes</Link>
            </button>
        </div>
    </>

    <style jsx>{`
        .logo { ... }
    `}</style>
);However, this does not scale very much. Instead, Next supports CSS modules out of the box. Simply import your CSS then use your exported classes:
import Button from '../components/Button'

import styles from '../css/index.module.css'

const Index = () => (
    <>
        <img src="next.svg" className={styles.logo} alt="logo" />
        <Button text="See quotes" link="list" />
    </>
);

export default Index;For this, I’ve created a css folder next to pages and added a new file. Next supports CSS modules by using the [name].module.css naming, so make sure you name your files accordingly, otherwise you may run into errors.
Note that I’ve also created a components folder and outsourced the button into a custom Button component and added a couple of styles to it. This way you can reuse the buttons anywhere in the app with the same look and feel.
Now usually, you also want to introduce global styles to reset certain elements or give a basic outline to your app. To add global CSS, you need to import your CSS files through _app.js:
import Head from 'next/head'

import '../css/base.css'

const App = ({ Component, pageProps }) => ( ... )

export default App;How to Fetch Data From an API
All that’s left to do, is to request some quotes from the server and display them. To do this, you want to make use of the getStaticProps function. This is a built-in function that Next uses to fetch data at build time. Inside your list.js file, after you’ve defined the component, also export this function:
const List = () => <>We will display the quotes here...</>;

export const getStaticProps = async context => {
    const result = await fetch('https://type.fit/api/quotes');
    const quotes = await result.json();

    return {
        props: {
            quotes
        }
    }
}

export default List;You can also pass a context to the function which contains various data about the page, such as route params or locales. For the full list of properties this object contains, you can refer to Next.js’ documentation.
This function needs to export an object with a props property that will be passed to your component. Anything you pass here will be available for use in your component. To display the quotes, change the body of the component to the following:
import Quote from '../components/Quote'
import styles from '../css/list.module.css'
import inputStyles from '../css/input.module.css'
const List = ({ quotes }) => {
return (
<>
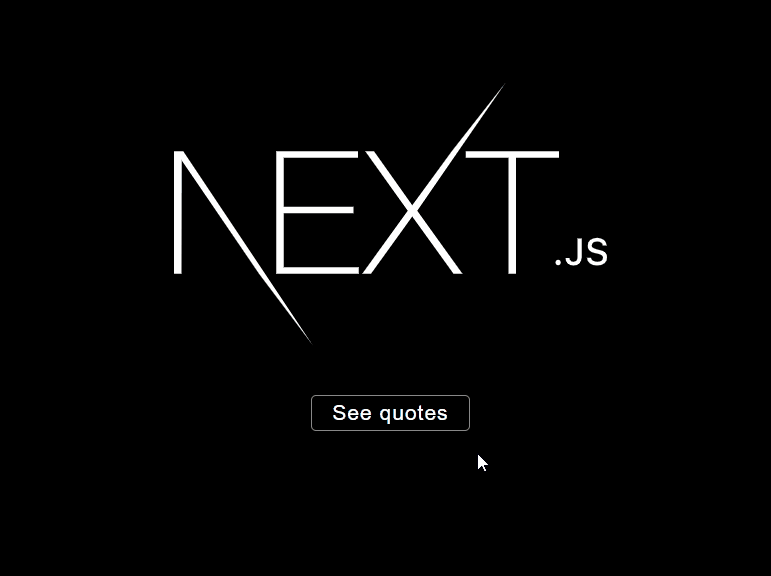
<div className={inputStyles['input-container']}>
<input className={inputStyles.input} placeholder="Filter by author" />
</div>
{quotes.map((quote, index) => (
<div className={styles['quote-wrapper']} key={index}>
<Quote text={quote.text} author={quote.author} />
<span className={styles['quote-number']}>{`#${index + 1}`}</span>
</div>
))}
</>
)
}
export const getStaticProps = async context => { ... }It will get the quotes returned from the getStaticProps function. From line:9, I’ve added an input to let the user filter the quotes, and then mapped through them to display everything. Again, I’ve created a separate component for the Quote to make it reusable and imported a CSS to style everything.
To add the filtering functionality, you can add a new state with useState at the beginning of the component, like so:
const List = ({ quotes }) => {
    const [filteredQuotes, updateQuotes] = useState(quotes);

    const filterQuotes = e => {
        const results = filteredQuotes.filter(quote => quote.author && quote.author.toLowerCase().startsWith(e.target.value.toLowerCase()))

        updateQuotes(results);
    }

    return (
        <>
            <div className={inputStyles['input-container']}>
                <input className={inputStyles.input} placeholder="Filter by author" onKeyUp={filterQuotes} />
            </div>
            {filteredQuotes.map((quote, index) => (
                <div className={styles['quote-wrapper']} key={index}>
                    <Quote text={quote.text} author={quote.author} />
                    <span className={styles['quote-number']}>{`#${index + 1}`}</span>
                </div>
            ))}
        </>
    )
}This will filter the quotes based on what you write into the input. Make sure you also attach the function to the onKeyUp prop of the input, as well as change quotes.map to filteredQoutes.map on line 15.
Conclusion
And now you have a working application written in React, rendered on the server with Next.js. Overall, Next.js is a great choice if you want to render your React application on the server-side. One common use-case is using it as a static site generator for blogs, galleries or portfolios. Make sure to have a look at the showcase page on Next.js, to see which big sites are using it.
I have the whole application hosted on GitHub, with CSS and components included that are not covered in this tutorial. You can clone it from the link below.
Do you have any experience with Next.js? Let us know your thoughts about it in the comments below. Thank you for reading through, happy coding!

Rocket Launch Your Career
Speed up your learning progress with our mentorship program. Join as a mentee to unlock the full potential of Webtips and get a personalized learning experience by experts to master the following frontend technologies:
Courses


Recommended

How to Make Interactive Bubble Charts in D3.js

Simple Ways to Fake Masonry in CSS
