How to Make an Effective Exit-Intent Popup in JavaScript
You have probably already seen one of those popups that appear just as you're about to leave the page. Feels like they're reading your mind. But are they? This is called an exit-intent popup and in reality, implementing a similar behavior is fairly easy. We’re going to make use of some DOM events to achieve the same thing. In this tutorial, you’ll learn how to do it step by step.
You can find the full source code in one piece on GitHub.
As popups can be very disruptive in nature, we'll make it as subtle as we can and only display it once to each visitor. Let’s jump into setting up the markup for the popup.


Setting up the Project
Inside your project, create the following HTML layout for the popup:
<div class="exit-intent-popup">
    <div class="newsletter">
        <b>Want to get updates to your mailbox? 📬</b>
        <p>Subscribe to our newsletter!</p>
        <input type="email" placeholder="Your email address" class="email" />
        <button class="submit">Receive Newsletter</button>
        <span class="close">x</span>
    </div>
</div>Everything will go inside the .exit-intent-popup container. It will have a semi-black overlay. The .newsletter will be the actual popup. To make it work as a popup, you will also need some CSS.
Adding Some CSS
The important parts are the overlay and the .newsletter container. To make the popup cover the whole screen, you’ll need to make it fixed and use all four positions.
.exit-intent-popup {
    position: fixed;
    top: 0;
    left: 0;
    bottom: 0;
    right: 0;
    z-index: 1;
    background: rgba(33, 33, 33, 0.8);
}You also want to add a z-index to make sure it covers other elements on the page that already appears on top of everything — like tooltips for example. By assigning 0 for each position, it'll be stretched for the whole screen.
.newsletter {
    position: absolute;
    top: 50%;
    left: 50%;
    transform: translate(-50%, -50%);
}To position the .newsletter to the dead center inside the popup, set top and left to 50% and also use translate(-50%, -50%). This is because, by default, the anchor point is set to the upper left corner of an element. Translate will move it back 50% on both axis.
Showing the popup
Now the popup is visible no matter what. We actually want to show it when a class is applied to .exit-intent-popup. Extend popup.css with the following lines:
.exit-intent-popup {
    position: fixed;
    top: 0;
    left: 0;
    bottom: 0;
    right: 0;
    z-index: 1;
    background: rgba(33, 33, 33, 0.8);
    transform: translateY(60%) scale(0);
}

.exit-intent-popup.visible {
    transform: translateY(0) scale(1);
}This works as expected, but the popup just appears out of nowhere without any transition. This is how the popup behaves at the moment:

.visible class is appliedLet’s also add some nice easing to it to create a smooth animation. Using translate and scale for transformation, the popup will smoothly scale into the view from the bottom of the screen.
 .exit-intent-popup {
     ...
+    transition: transform 0.3s cubic-bezier(0.4, 0.0, 0.2, 1);
 }

Determining When to Show the Popup
Now we need to hook in some JavaScript and determine when to apply the class to show the popup. To get the desired effect, we want to detect if the user moves their cursor out of the window.
document.addEventListener('mouseout', e => {
    if (!e.toElement && !e.relatedTarget) {
        document.querySelector('.exit-intent-popup').classList.add('visible');
    }
});We can achieve this, by adding a mouseout event listener to the document and see if there’s no toElement and relatedTarget. If both of them are null, then the user moved their mouse out from the window. This is when you want to add the class.
However, this will happen every time the mouse is moved out. Preferably, you only want to show it once per session. To do that, you need to get rid of the event listener. But before we can do that, we need to convert the callback function into a named function.
const mouseEvent = e => {
    if (!e.toElement && !e.relatedTarget) {
        document.removeEventListener('mouseout', mouseEvent);

        document.querySelector('.exit-intent-popup').classList.add('visible');
    }
};

document.addEventListener('mouseout', mouseEvent);This way, you can specify which callback function you want to remove on which DOM event.
Refining the showing algorithm
Now there are two more problems when it comes to showing the popup. First, as soon as the page loads, it'll appear as long as the user moves their mouse out from the window. Moreover, the popup also appears when the user moves their mouse to the taskbar or to the left or right side of the screen. Usually, this is not an indicator that they want to leave the page.

Therefore, we can cater to these cases and exclude them from showing the popup.
setTimeout(() => {
    document.addEventListener('mouseout', mouseEvent);
}, 10_000);For example, by wrapping the event listener into a setTimeout, you can ensure, that the popup will only appear if the user already spent some time on the page. This will only attach the event listener after 10 seconds have passed. To also prevent it from showing when the user is not moving their mouse upwards, we need to check their cursor’s position.
const mouseEvent = e => {
    const shouldShowExitIntent =
        !e.toElement &&
        !e.relatedTarget &&
        e.clientY < 10;

    if (shouldShowExitIntent) {
        document.removeEventListener('mouseout', mouseEvent);

        document.querySelector('.exit-intent-popup').classList.add('visible');
    }
};I’ve modified the mouseEvent function to check the value of clientY. This holds the vertical position of the mouse. If it hits less than 10, then the user moved their mouse close to the address bar.
Now it only appears if they move their mouse upwards. There’s only one problem. You can’t really close the popup at the moment.
Closing the Popup
You always want to provide a clear way for the user to close the popup. The most common way is to use a close button, which we already have in the DOM. Let’s attach a click event listener to it.
const exit = e => {
    if (e.target.className === 'close') {
        document.querySelector('.exit-intent-popup').classList.remove('visible');
    }
};

document.querySelector('.exit-intent-popup').addEventListener('click', exit);You may ask why did I attach the event listener to the whole .exit-intent-popup, instead of just attaching it to the close button. This is useful because this way, we can improve the closing functionality and also close the popup when the mask around the box is clicked.
Closing when clicking on the mask
Rewrite the previous function in the following way:
const exit = e => {
    const shouldExit =
        [...e.target.classList].includes('exit-intent-popup') || // user clicks on mask
        e.target.className === 'close'; // user clicks on the close icon

    if (shouldExit) {
        document.querySelector('.exit-intent-popup').classList.remove('visible');
    }
};This will now also test whether the user clicked on the overlay. Note that you’ll have to use destructuring to use the includes array method, as classList returns a DOMTokenList.
Closing when hitting the escape button
Lastly, let’s also enable the user to close the popup by hitting the esc key. Extend the exit function with a new line and also attach the same callback function to the keydown document event.
const exit = e => {
    const shouldExit =
        [...e.target.classList].includes('exit-intent-popup') || // user clicks on mask
        e.target.className === 'close' || // user clicks on the close icon
        e.keyCode === 27; // user hits escape

    if (shouldExit) {
        document.querySelector('.exit-intent-popup').classList.remove('visible');
    }
};

// When adding the mouseout event handler, also add one for keydown
setTimeout(() => {
    document.addEventListener('mouseout', mouseEvent);
    document.addEventListener('keydown', exit);
}, 10_000);Adding Some Cookies
Now that we have everything in place, there’s only one thing left to do. If you revisit the site, you’ll notice that the popup will appear again and again. This is not ideal as it has already been shown before. To fix this, let’s also add a final check. We’re going to introduce some cookies:
// Wrap the setTimeout into an if statement
if (!CookieService.getCookie('exitIntentShown')) {
    setTimeout(() => {
        document.addEventListener('mouseout', mouseEvent);
        document.addEventListener('keydown', exit);
    }, 10_000);
}

const mouseEvent = e => {
    const shouldShowExitIntent =
        !e.toElement &&
        !e.relatedTarget &&
        e.clientY < 10;

    if (shouldShowExitIntent) {
        document.removeEventListener('mouseout', mouseEvent);
        document.querySelector('.exit-intent-popup').classList.add('visible');

        // Set the cookie when the popup is shown to the user
        CookieService.setCookie('exitIntentShown', true, 30);
    }
};Whenever the popup is presented to a visitor, we set a cookie for 30 days. If this cookie exists, we don’t attach the event listeners to the document, until it expires. So where is this CookieService coming from?
I’ve created an object for the sole purpose of handling cookies. With a getCookie and setCookie method.
const CookieService = {
    setCookie(name, value, days) {
        let expires = '';

        if (days) {
            const date = new Date();
            date.setTime(date.getTime() + (days * 24 * 60 * 60 * 1000));
            expires = '; expires=' + date.toUTCString();
        }

        document.cookie = name + '=' + (value || '')  + expires + ';';
    },

    getCookie(name) {
        const cookies = document.cookie.split(';');

        for (const cookie of cookies) {
            if (cookie.indexOf(name + '=') > -1) {
                return cookie.split('=')[1];
            }
        }

        return null;
    }
}Summary
Now you know exactly how to create an exit-intent popup, step by step. When it comes to using popups as calls to action, always try to think from the user’s perspective.
Having multiple popups on the page can be annoying and hurts the user experience. Exit-intent popups provide a great way to grab the user’s attention as a last resort when they're — most probably — already ready to leave.
You can find the full source code in one piece on GitHub.
Do you have experience with popups? What are your tips and strategies when implementing them? Let us know in the comments! Thank you for reading through, happy coding!

Rocket Launch Your Career
Speed up your learning progress with our mentorship program. Join as a mentee to unlock the full potential of Webtips and get a personalized learning experience by experts to master the following frontend technologies:
Courses


Recommended
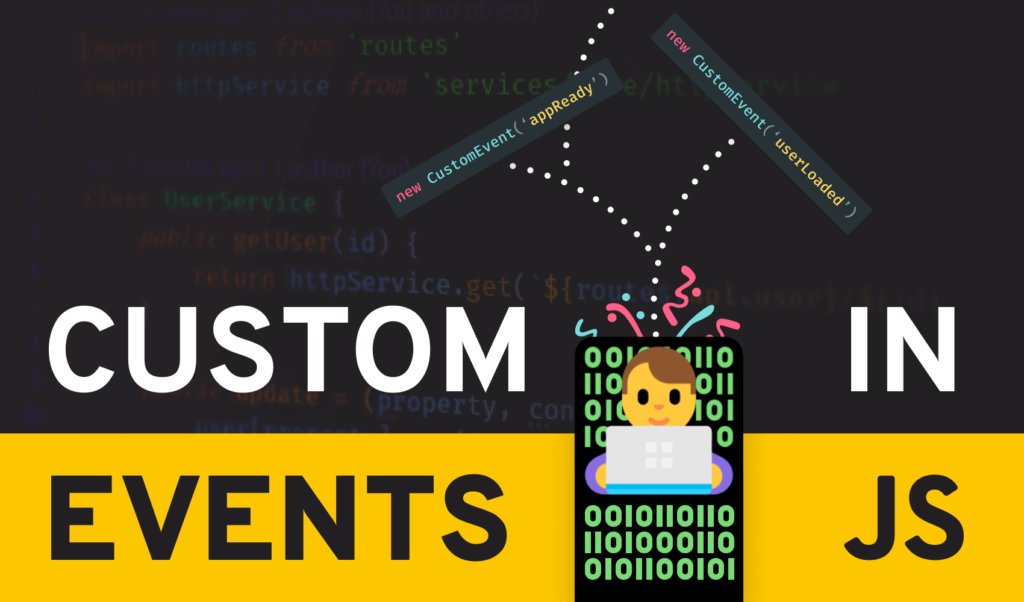
Custom Event Listeners in JavaScript
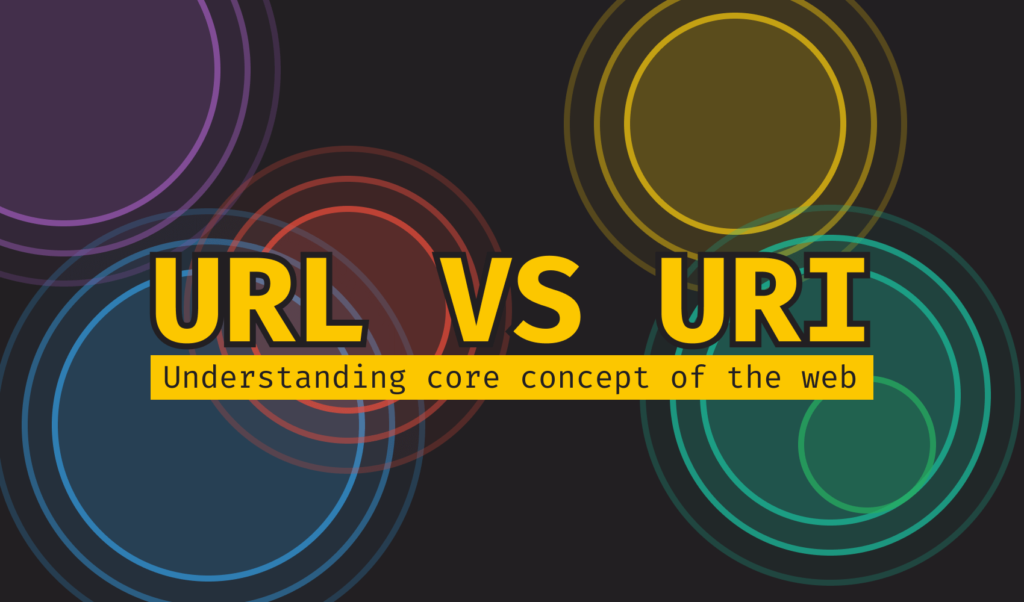
What is the Difference Between A URL And A URI?