How to Make a Download Progress Bar in React
When building interactive applications, user experience is always a cornerstone. Whenever you can, always provide feedback about a user’s action. One common case of showing loading bars is happening when requesting data from the server.
But how can you track the progress of your fetch requests? In this article, we will explore how this can easily be done with the use of Axios.

Project Setup
I’m using create-react-app to set up a new React project. To save some time on styling everything, I’m using this GitHub repository from my previous tutorial. It also includes a function that simulates the progress of a network request. We will later change this function to actually track the progress of a real network request.
I’ve replaced App.css with the styles in the GitHub repo as well as the template inside App.js:
function App() {
const download = () => { ... };
return (
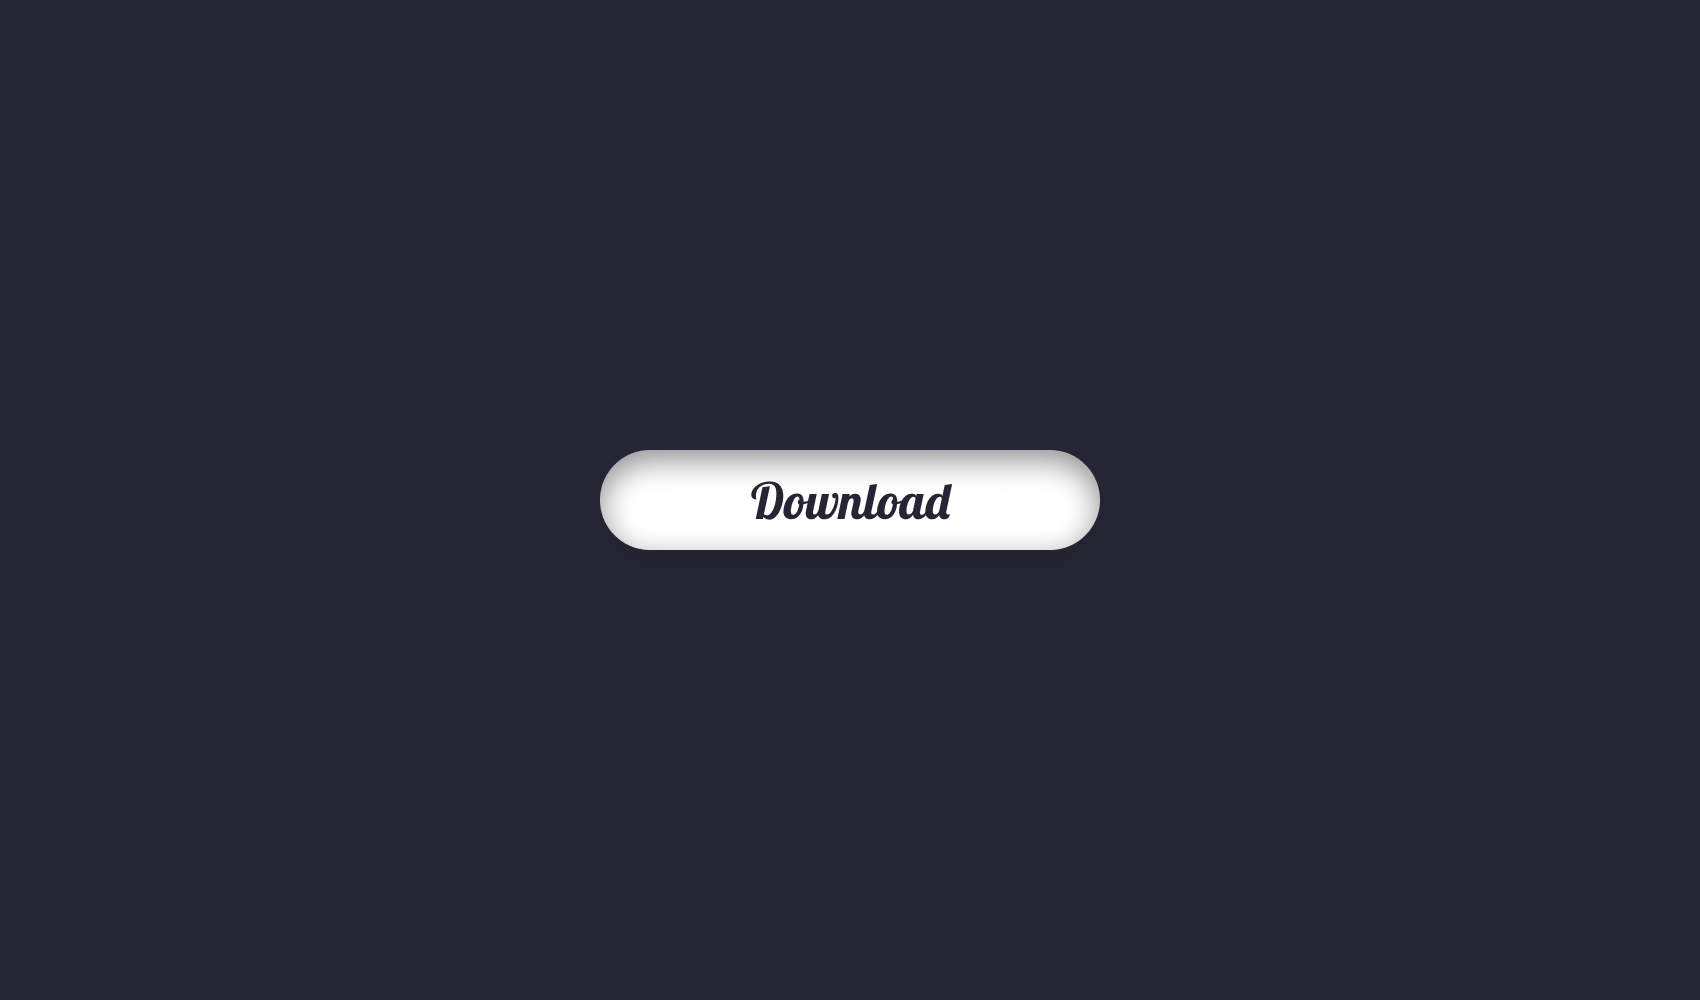
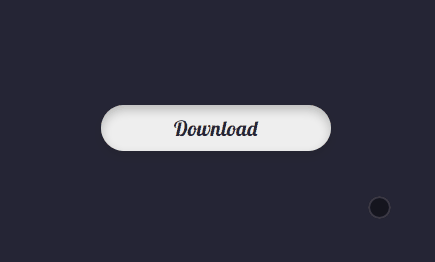
<div className="progress-button">
<span className="loading-text">Loading</span>
<button className="download-button" onClick={download}>
<span className="button-text">Download</span>
</button>
<span className="percentage">0%</span>
</div>
);
}
export default App;I have also copied the contents from app.js and attached a download function for the button. It’s also a good time to install our single dependency: axios. Run npm i axios. With everything set up, you should have the same app as the linked GitHub repository, except everything is in React now.

Using Hooks for State Changes
At the moment, the DOM is manipulated directly from the component. To do things in the React way, let’s change the state to use hooks instead. First, let’s start with the percentage.
- import React from 'react';
+ import React, { useState } from 'react';

 function App() {
+    const [percentage, setPercentage] = useState(0);

     const download = () => {
         const documentStyles = document.documentElement.style;
         const progressButton = document.querySelector('.progress-button');
-        const percentage = document.querySelector('.percentage');
         const buttonText = document.querySelector('.button-text');

         progressButton.classList.add('in-progress');

         (async () => {
             let progress = 0;

             while (progress < 100) {
                 progress = await simulateDownload(progress);

                 if (progress % 5 === 0) {
                     documentStyles.setProperty('--progress', `${progress}%`);
                 }

-                percentage.innerText = `${progress}%`;
+                setPercentage(progress);
             }

             buttonText.innerText = '🎉 Done';
             setTimeout(() => progressButton.classList.replace('in-progress', 'finished'), 1000);
         })();
     };

     return (
         <div className="progress-button">
             <span className="loading-text">Loading</span>
                 <button className="download-button" onClick={download}>
                     <span className="button-text">Download</span>
                 </button>
-            <span className="percentage">0%</span>
+            <span className="percentage">{percentage}%</span>
         </div>
    );
}If you’re interested in how hooks work in React, I have a tutorial that goes into more detail. You can reach it below.

Import useState from React and instantiate it with a value of 0 on line:5. We can remove the percentage variable inside the download function, as well as replace the assignment on line:26 to setPercentage, passing in the current progress.
The same thing can be done with switching classes and the text on the button. Create a separate state for the progress and repeat the same steps:
 import React, { useState } from 'react';

 function App() {
     const [percentage, setPercentage] = useState(0);
+    const [progress, setProgress] = useState(null);

     const download = () => {
         const documentStyles = document.documentElement.style;
-        const progressButton = document.querySelector('.progress-button');
-        const buttonText = document.querySelector('.button-text');

-        progressButton.classList.add('in-progress');
+        setProgress('in-progress');

         (async () => {
             let progress = 0;

             while (progress < 100) {
                 progress = await simulateDownload(progress);

                 if (progress % 5 === 0) {
                     documentStyles.setProperty('--progress', `${progress}%`);
                 }

                 setPercentage(progress);
             }

-            buttonText.innerText = '🎉 Done';
-            setTimeout(() => progressButton.classList.replace('in-progress', 'finished'), 1000);
+            setTimeout(() => setProgress('finished'), 1000);
         })();
     };

     return (
-        <div className="progress-button">
+        <div className={`progress-button ${progress}`}>
             <span className="loading-text">Loading</span>
                 <button className="download-button" onClick={download}>
-                    <span className="button-text">Download</span>
+                    <span className="button-text">{progress === 'finished' ? '🎉 Done' : 'Download'}</span>
                 </button>
             <span className="percentage">{percentage}%</span>
         </div>
    );
}
Tracking Progress With Axios
Now we can start working on actually tracking the progress. For this, we’re going to request some large images. Pull in axios and inside your download function, create a new GET request.
import axios from 'axios';

function App() {
    ...

    const download = () => {
        axios({
            url: 'https://www.placecage.com/3499/3499',
            onDownloadProgress(progress) {
                console.log('download progress:', progress);
            }
        }).then(response => {
            console.log('response has arrived');
        });
    };
}Axios has an onDownloadProgress request config method for handling progress on the requested resource. If you go to your console, you’ll see that as the download progresses, we get back a ProgressEvent object with useful information.

Such as the number of bytes loaded and the total size of the request. From this, we can calculate the progress of the request. Modify your download function the following way:
const download = () => {
    const documentStyles = document.documentElement.style;
    let progress = 0;

    setProgress('in-progress');

    axios({
        url: 'https://www.placecage.com/3499/3499',
        onDownloadProgress(progressEvent) {
            progress = Math.round((progressEvent.loaded / progressEvent.total) * 100);

            setPercentage(progress);

            documentStyles.setProperty('--progress', `${progress}%`);
        }
    }).then(() => {
        setProgress('finished');
    });
};The code is self-explanatory. Inside the onDownloadProgress callback, we calculate the percentage and update the view with it. You may have noticed, I’ve got rid of the if statement. (if (progress % 5 === 0) This is to make sure the progress bar always updates on every callback.

To slow things down even further, I’ve also enabled throttling inside the “Network” panel. You can simulate low-end devices this way. Also for faster connections, you may see that the progress bar instantly jumps to 100%. This way, we can make sure we see it actually progressing. Now it’s time to test it out!
Summary
Axios has a nice and easy-to-use API. You can set up loading bars in a minute to give your users feedback about time-consuming tasks and the progress of your network requests.
If you would like to get the full source code as-is, you can clone the project from this GitHub repository. Thank you for taking the time to read this article, happy coding!
Want to improve the way you fetch data in your React components? Check out how you can reduce unnecessary logic and make your components more concise and readable.

Rocket Launch Your Career
Speed up your learning progress with our mentorship program. Join as a mentee to unlock the full potential of Webtips and get a personalized learning experience by experts to master the following frontend technologies:
Courses


Recommended
The Curious Case of Banana in Javascript

7 Tips That Will Help You Get The Best Out Of Sass