How to Create Videos With React
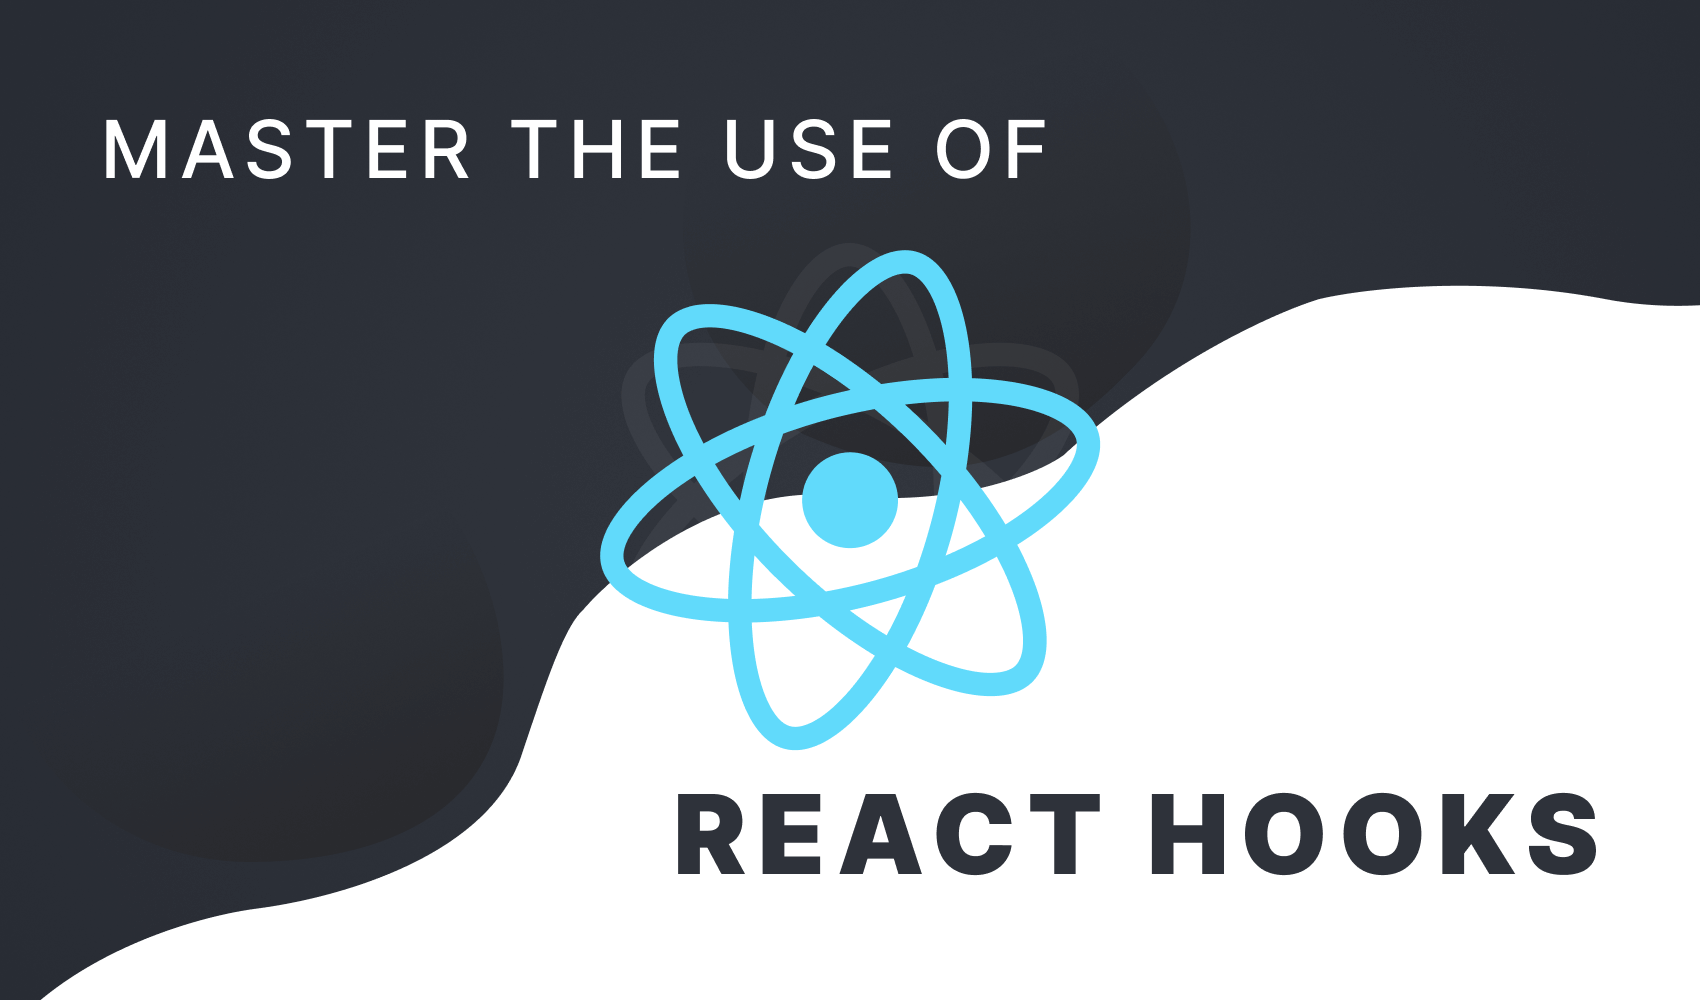
The gif above the title is created entirely with React. Only code, that can animate everything. You may have already seen the video that was written entirely in React too, using a library, called Remotion.
It lets you create motion graphics, using nothing more but code. It comes with a nice GUI to help you visualize your final output, as well as a sample project to help you understand the basics of Remotion.


How Remotion Works
Remotion provides you a frame number and a canvas where you can animate anything you want, however you want, using the current frame. It mainly works by using two built-in custom components, and a couple of custom hooks.
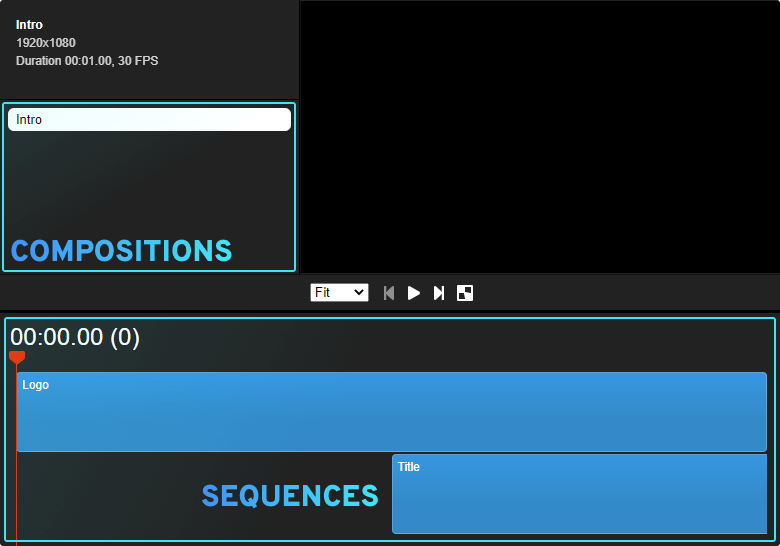
- Compositions: This component is used for registering a video that can be rendered. Compositions will show up in the sidebar of the GUI.
- Sequences: Sequences can be used to shift parts of your animation in time. Wrapping code in a
Sequencewill also make it visible in the timeline under your video. This helps you better understand its flow and structure.
Setting Up a New Remotion Project
To get started with Remotion, make sure you have FFMPEG installed first. This will be required if you want to export a final video from your React code. To Install FFMPEG, you can follow these docs on GitHub. And to bootstrap a new Remotion project, run:
npm init video remotion
where remotion is the name of the folder where you want to bootstrap your project. After installation, cd into your project and take a look at the folder structure.
In the root of your src folder, you will have your index.tsx file. This is what you will want to reference during building. This is your entry point to your video.
import {registerRoot} from 'remotion';
import {RemotionVideo} from './Video';
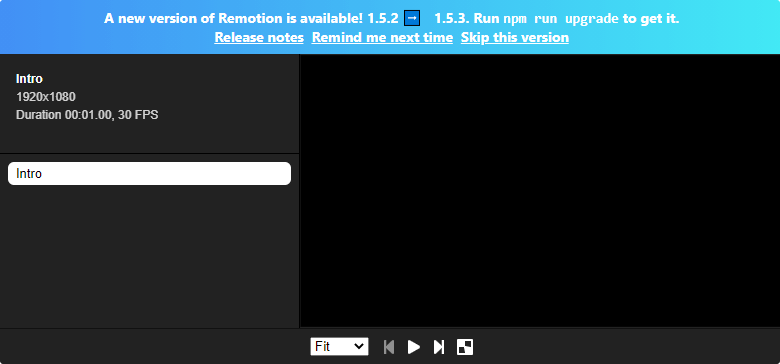
registerRoot(RemotionVideo);The video that is passed to registerRoot is a React component that returns some compositions and other tags, such as an svg. If you run npm run start, you will be greeted by the video editor.
A great thing about Remotion is that you will get a notification if there is a newer version available, which you can quickly install by simply running npm run upgrade.

Animating Properties
Let’s look into how you can actually animate things. To go over the basics of Remotion, we will recreate the hero image of the tutorial. Rewrite your Video.tsx to only export one Composition:
import React from 'react'

import { Composition } from 'remotion'
import Intro from './Intro/index'

export const Video: React.FC = () => {
    return (
        <Composition
            id="Intro"
            component={Intro}
            durationInFrames={30}
            fps={30}
            width={1920}
            height={1080}
        />
    );
};Your composition will need an ID (This is what will show up in the sidebar of the editor), a component that you want to render, and your dimensions, as well as the FPS and how long you want your component to be visible. This is what durationInFrames is used for. It means that the Intro component will be visible for 30 frames.
I’ve created a new folder called Intro and added an index file in it. To keep things organized, I’m only importing other components into it. To also make the components appear on the timeline, you want to wrap them in a Sequence:
import React from 'react'
import { Sequence } from 'remotion'

import { Logo } from './Logo'

const Intro: React.FC = () => (
    <Sequence from={0} durationInFrames={30}>
        <Logo />
    </Sequence>
)

export default Intro;This Sequence takes in two props:
from: At which frame should the children of the sequence start playing. Since we want to show the logo from the beginning, we need to pass 0.durationInFrames: For how many frames this sequence should be played. The whole video will be 30 frames, so we want to play it all the way till the end. If you don’t know the total number of frames in a video upfront, but you still want to play a sequence till the end, you can passInfinity.
Inside the Logo component, I’m exporting an SVG with a mask. We want to animate this mask over time to slowly reveal the full logo.
import React from 'react'
import { useVideoConfig, useCurrentFrame } from 'remotion'

const clamp = (num, min, max)  => Math.min(Math.max(num, min), max);

export const Logo = () => {
    const { durationInFrames } = useVideoConfig();

    const maxWidth = 671;
    const multiplier = maxWidth / durationInFrames;
    const frame = useCurrentFrame()
    const width = clamp((frame * multiplier) * 2, 0, 671);

    return (
        <svg width="671" height="288" viewBox="0 0 671 288"
            style={{
                position: 'absolute',
                top: '50%',
                left: '50%',
                transform: 'translate(-50%, -50%)'
            }}>
            <mask id="mask">
                <rect x="0" y="0" width={width} height="288" fill="#FFF" />
            </mask>
            <path mask="url(#mask)" d="..." fill="#FCC700" />
        </svg>
    );
};So what is happening here? Remotion has these handy hooks that you can use to retrieve both the current frame using useCurrentFrame, and the information about the video’s configuration using useVideoConfig. These values change over time as your video progresses. Using them, we can calculate a width that we can pass to the rect inside the mask. This will make the mask wider and wider over time, and it caps the value at the width of the SVG, that is at 671px. This is what clamp is for.
To add the subtitle, create a new Title component, next to our Logo, but we want to delay it. We want to show it after the whole logo is visible. We can use another Sequence for this, placed next to the Logo.
const Intro: React.FC = () => (
    <>
        <Sequence from={0} durationInFrames={30}>
            <Logo />
        </Sequence>

        <Sequence from={15} durationInFrames={Infinity}>
            <Title />
        </Sequence>
    </>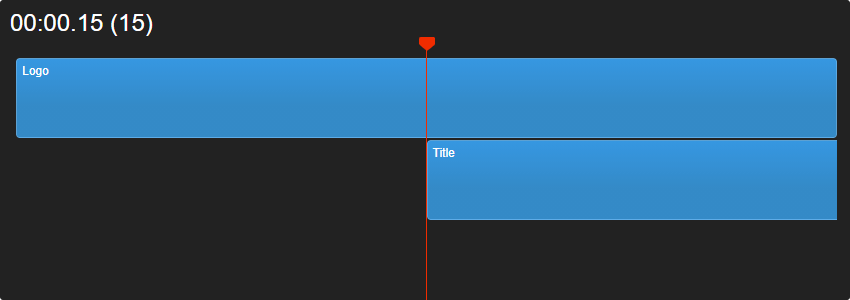
)If you go to your editor, you will see a second bar appearing under the Logo. Since it takes 15 frames for the logo to finish the animation, we want to start playing the Title from the 15th frame.
Inside the Title, we also have an SVG where we animate both the opacity and the position. We want it to slide up over time, and for this, we need to use the current frame again.
import React from 'react'
import { useCurrentFrame } from 'remotion'

export const Title: React.FC = () => {
    const frame = useCurrentFrame()

    const opacity = frame >= 10 ? 1 : (frame / 10);
    const top = frame >= 10 ? 75 : (80 - frame / 2)

    return (
        <svg width="565" height="128" viewBox="0 0 565 128" fill="none"
            style={{
                opacity,
                position: 'absolute',
                top: `${top}%`,
                left: '50%',
                transform: 'translate(-50%, -50%)',
            }}>
            <path d="..." fill="white"/>
        </svg>
    );
};We want the transition to complete over a period of 10 frames. This is what the ternary operator for both opacity and top does. If the frame is already over 10, we want to give a final value to the style of the SVG, otherwise we are:
- Moving from 0 to 1 for the opacity
- Moving from 80 to 75% for the top position

Exporting the Video
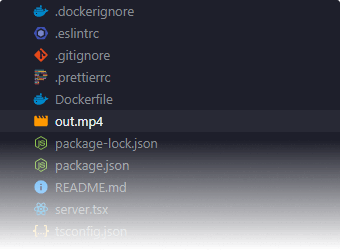
To export the video, simply run npm run build. This will generate an out.mp4 file at the root of your directory. Alternatively, you can also export videos with a Remotion command directly:
remotion render src/index.tsx Intro out.mp4
You want to pass the file to render that calls registerRoot. The Intro in the above command references the ID of the Composition that needs to be rendered, and the last parameter is the output location.
If you want to change the output quality, codec, frames, or any other property of your video, you can pass flags to the CLI command. For the full list of available flags, you can refer to the official docs. Alternatively, you can set these options in your remotion.config.ts file at the root of your directory.
import {Config} from 'remotion';

Config.Output.setCodec('h264');
Config.Output.setImageSequence(false);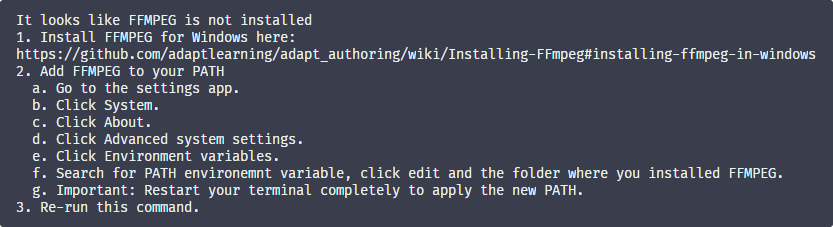
Config.Rendering.setImageFormat('jpeg');If you run into any errors during compilation, make sure you check whether you have FFMPEG installed and it is set in your PATH variable.
Conclusion
So what are the actual use-cases of Remotion? Shouldn't it be easier to create videos with a well-known, widely adopted software, that has a powerful user interface, such as Premier Pro, or DaVinci Resolve?
It's true. But since you are working with code in Remotion, it means you can create dynamic videos. You can create videos that involve data that changes every now and then. You create the video once, connect Remotion with your API, and all you have to do to update the data in the video is to re-export it.
Do you need to create the same video in different languages? No worries. Simply use a different localization config during the export and you are all set and done.
And since CSS is also involved in the creation of videos, you can easily make them responsive. This means you can export one video for Facebook, one for Instagram, one for Youtube, and any other platform of your choice, from a single source. No need to change anything, only the output resolution.
What's next? I suggest having a quick read in the docs to get familiar with the rest of Remotion. Recently, they introduced transparent videos, and they are also working on introducing audio support down the road, so the library is heading in an interesting direction.
Have you worked with remotion before? Let us know your thoughts in the comments below! Thank you for reading through, happy editing 🎥

Rocket Launch Your Career
Speed up your learning progress with our mentorship program. Join as a mentee to unlock the full potential of Webtips and get a personalized learning experience by experts to master the following frontend technologies:
Courses


Recommended
How to Automate Your Code Refactoring

How to Add Extra Functionality to Your Modules With Babel