How to Create Custom Tasks in VSCode
There are many ways to automate the workflow of your project. Task runners such as Gulp, Grunt, or simple NPM scripts are a great way to define commands you want to run over and over again, removing the need to type out the same thing a million times.
Yet, you most probably type out npm run start or npm run build a couple of times throughout your day. With the use of the Task Runner extension, however, you can start these commands automatically with a click from your sidebar.

The extension automatically detects tasks created in Gulp and Grunt configuration files as well as any scripts that are available in your package.json. This means you don’t need to do anything else to speed up your workflow by a bit, apart from installing the extension.

Creating Custom Tasks
In some cases, however, you may want to specify and configure custom, workspace related tasks. This is where the tasks.json file comes into place.
Create a .vscode folder in your project’s root folder, and add the following file, called tasks.json:
{
    "version": "2.0.0",
    "tasks": []
}Anything you define in your tasks array, will also be visible on your sidebar under the task runner. For example, to add the same npm run start command you have in your package.json file, you can define it in the following way:
{
"label": "🏃♂️ Run demo",
"command": "npm",
"args": [
"start"
]
},Each task needs at least two things. A label and a command. The label is what will be displayed in VSCode. The command holds the actual command to execute. In the example above, we also have an args array. This is where you can define arguments if you have any for your command, such as flags for example.
Using variables
If you need to work with environment variables or specify the current working directory, you can also add an options object to the command.
"options": {
    "cwd": "${workspaceFolder}",
    "env": {
        "NODE_ENV": "production"
    }
},This will set the current working directory — or cwd for short — to the root of the project’s folder, and the node environment to production. Also, note that you don’t need to specify the exact path for the project’s folder, you can use a special keyword: ${workspaceFolder}. This is called a variable reference.
These are predefined variables that you can use to easily execute tasks. For example, to run the currently opened unit test, you may want to pass ${file} or ${relativeFile} to your args array.
Summary
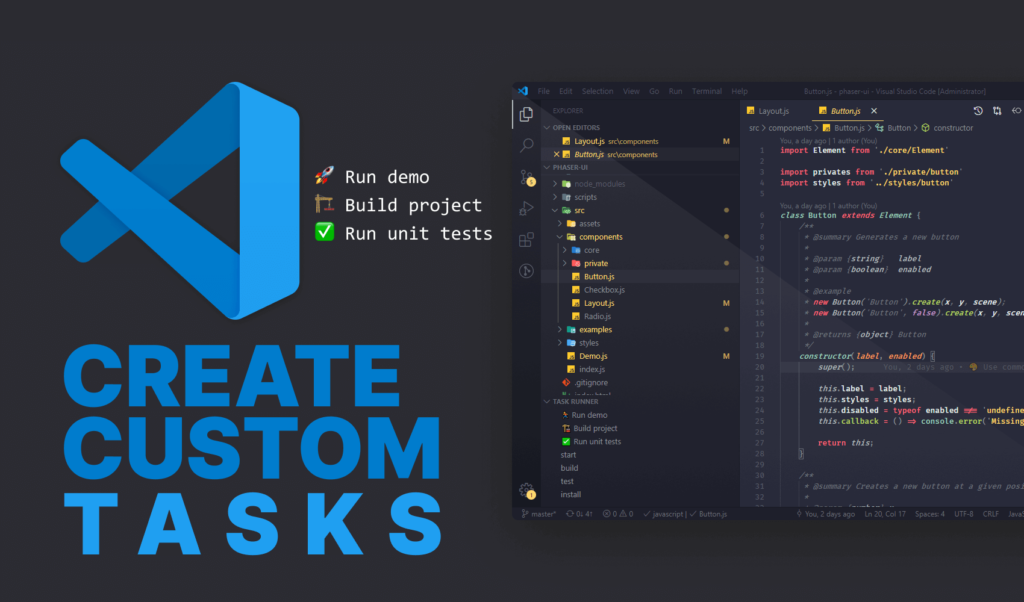
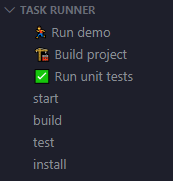
As you can see, I also like to include emojis in front of the commands to further help visualize what each command should do. Below them, you can find all the available commands automatically picked up by the Task Runner extension.
Although this doesn’t seem much, from typing out npm commands to only clicking to run a command does add up and can save you some time down the road. If you need more customization, You can find all the available options for custom tasks in the official documentation of VSCode. They also have separate documentation for the list of predefined variables.
Do you have a favorite extension in VSCode that you use all the time, and already saved you some precious minutes? Let us know in the comments below! Thank you for reading through, happy coding!

Rocket Launch Your Career
Speed up your learning progress with our mentorship program. Join as a mentee to unlock the full potential of Webtips and get a personalized learning experience by experts to master the following frontend technologies:
Courses


Recommended

What is Snowpack?

How to Set Up Protected Routes in Your Svelte Application