How to Bundle your React-Electron App by Parcel
Recently, I wanted to build a desktop app using Electron as the framework, and React as the UI library. On top of that, I wanted a no-configuration setup, so I’ve turned to Parcel. I looked into a couple of tutorials, but either they didn’t mention hot reload, or the solutions required to start multiple separate processes. To simplify things, I’ve created a boilerplate that others can reuse as well, and so this tutorial was born to explain how it works.
Clone the boilerplate from GitHub

Setting Up Parcel
First, create a new npm project by running npm init -y, then install these two dependencies that we are going to work with:
npm i electron parcel-bundler
We will need a minimal setup, so add a public folder with an index.html file:
<!DOCTYPE html>
<html lang="en">
<head>
<meta charset="UTF-8" />
<meta name="viewport" content="width=device-width, initial-scale=1.0" />
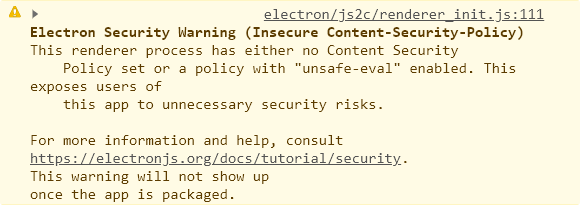
<meta http-equiv="Content-Security-Policy" content="script-src 'self';" />
<title>📦🚀 React Electron Parcel Boilerplate</title>
<link rel="stylesheet" href="./assets/reset.css" />
</head>
<body>
<div id="app"></div>
<script src="../src/index.js"></script>
</body>
</html>There are two important things to note. First, you have a Content-Security-Policy meta tag. This is needed if you want to get rid of the security warning Electron throws in the console.
Secondly, I’ve referenced a script called index.js under the src folder, so make sure you create that. An empty file will be enough for now. To let Parcel build these files, create a scripts folder and add a start.js file with the following content:
const Bundler = require('parcel-bundler');

const entry = './public/index.html';
const options = {
    outDir: './build',
    publicUrl: './',
    sourceMaps: false,
    autoInstall: false,
    hmr: false,
    target: 'electron'
};

(async () => {
    const bundler = new Bundler(entry, options);

    bundler.bundle();
})();This will create a new Parcel bundler, with a couple of config options. It sets the build directory to build. By default, this is set to dist. It forces assets to be referenced relative to your generated index file, this is why publicUrl is set. It also forces the bundler to avoid generating source maps and auto-installing missing dependencies. You also want to set hmr to false, otherwise, you may run into errors saying:
Uncaught DOMException: Failed to construct 'WebSocket': The URL 'ws://:58083/' is invalid.
If you want to further fine-tune your options, you can reference the API docs on the official site of Parcel. To make this script easier to start, add a start command to your package.json file:
"scripts": {
    "start": "node scripts/start.js"
},If you did everything right, you should see a generated build folder, once you run npm run start.
Adding Electron
To add Electron to the project, add a new script to your package.json that we can use to start electron:
"scripts": {
    "start": "node scripts/start.js",
    "electron": "electron ."
}When starting Electron, it looks for the main file specified in your package.json. To keep the project’s root clean, add an electron folder into your src directory, and create an index.js, then make sure you reference this in your package.json:
"main": "src/electron/index.js"In your index.js for Electron, reference two new files; one for production, and one for development builds.
process.env.NODE_ENV === 'production'
    ? require('./prod.js')
: require('./dev.js');For a basic setup, you can add the following content to your files. Enable nodeIntegration to avoid Parcel running into errors:
const { app, BrowserWindow } = require('electron');

const createWindow = () => {
    const window = new BrowserWindow({
        webPreferences: {
            nodeIntegration: true
        }
    });

    window.loadFile('build/index.html');
};

app.whenReady().then(createWindow);
app.on('window-all-closed', () => app.quit());Make sure you load the generated index.html file from the build folder. To also start Electron with npm run start, you want to modify your start.js script a bit. Under the options, add the following:
let electronStarted = false;
(async () => {
const bundler = new Bundler(entry, options);
bundler.on('bundled', bundle => {
if (!electronStarted) {
electronStarted = true;
require('child_process').spawn('npm', ['run', 'electron'], {
stdio: ['ignore', 'inherit', 'inherit'],
shell: true
});
}
});
bundler.bundle();
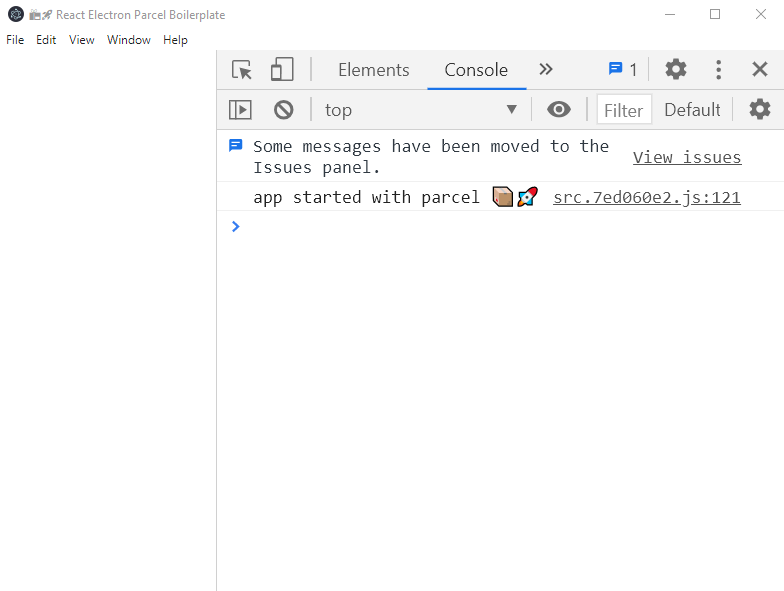
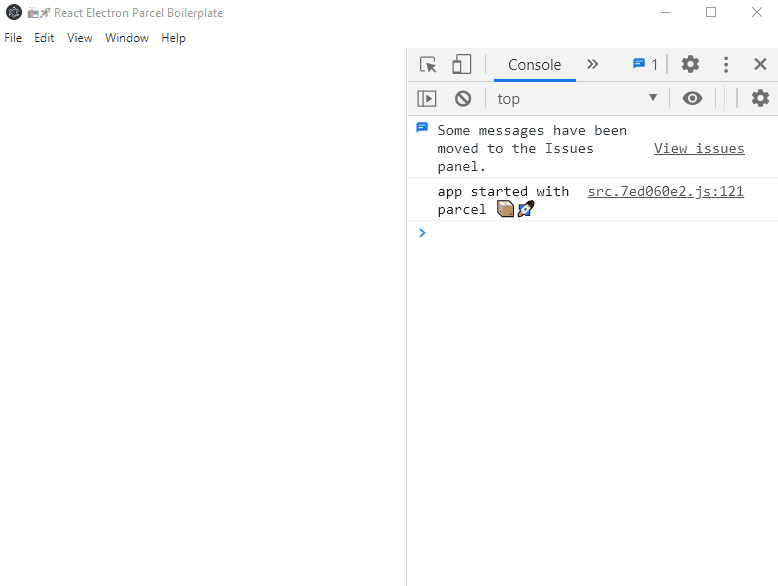
})();This will spawn a new process, once Parcel bundled the assets together for the first time. Run npm run start again, and you should see Parcel firing up Electron.

Adding Hot Reload
If you try to modify an asset, it won’t do anything at the moment, so let’s add hot reload. We will use the electron-reloader module from Sindre Sorhus. Run npm i electron-reloader to install it, then all you have to do is add the following to the beginning of your dev.js file, before you create the window for Electron:
try {
    require('electron-reloader')(module);
} catch (_) {}Try to change any of your assets, and Electron should be reloaded automatically.
Adding React to the Project
To add React to this project, simply install the necessary dependencies:
npm i react react-dom
Bootstrap your app in your src/index.js file:
import React from 'react'
import ReactDOM from 'react-dom'
import App from './components/App'
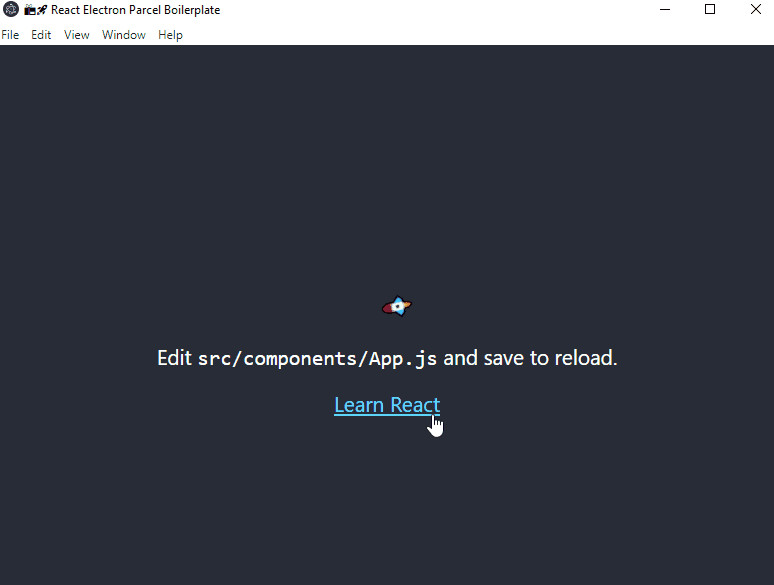
ReactDOM.render(<App />, document.getElementById('app'));And you are all done. The App component exports a slightly modified version of Create React App, which you can check out in the GitHub Repository.
Building the Project
Lastly, you want to build the project for the end-users. For this, we will need a couple of more packages. Namely:
npm i electron-packager electron-winstaller
electron-packageris responsible for creating an executable file for the project, but this won’t create a single installer.electron-winstallercan be used to create an installer from the package thatelectron-packagergenerates.
Add a build script to your package.json and a build.js to your scripts folder as well:
"scripts": {
    "build": "node scripts/build.js"
}To build the executable and the installer, add the following to your build.js script:
const packager = require('electron-packager');
const electronInstaller = require('electron-winstaller');

async function build(options) {
    const appPaths = await packager(options);

    console.log(`✅ App build ready in: ${appPaths.join('\n')}, creating installer...`);

    try {
        await electronInstaller.createWindowsInstaller({
            appDirectory: './dist/app-win32-ia32',
            outputDirectory: './dist/installer',
            authors: 'Weekly Webtips',
            description: '📦🚀 Electron app using React, built with Parcel',
            exe: 'app.exe'
        });

        console.log('💻 Installer is created in dist/installer');
    } catch (e) {
        console.log(`The following error occured: ${e.message}`);
    }
};

build({
    name: 'app',
    dir: './',
    out: 'dist',
    overwrite: true,
    asar: true,
    platform: 'win32',
    arch: 'ia32'
});For the list of available options for electron-packager, you can refer to their official documentation. The electron-winstaller package also has a supported settings table you can check out. A couple of things to keep in mind to avoid getting errors while the installer is being generated:
- The installer package uses your
namefield from yourpackage.json. Make sure this doesn’t contain any dashes or special characters. - Also make sure you reference the right directory and file in
createWindowsInstaller, the one that is generated bypackager.
Using the script above, it will generate an executable first in the dist folder, and based on the generated files, it will also create an installer.
Summary
And now you have the base for an Electron application with React, built by Parcel — the zero-configuration web app bundler. Although this setup is configurable to some extent using its bundler API. As mentioned in the beginning, you can clone the whole project from the following GitHub repository:
Clone the boilerplate from GitHub
Do you have anything else to add to this tutorial? Let us know in the comments below! Thank you for reading through, happy coding!

Rocket Launch Your Career
Speed up your learning progress with our mentorship program. Join as a mentee to unlock the full potential of Webtips and get a personalized learning experience by experts to master the following frontend technologies:
Courses


Recommended
How to Publish Your First NPM Package
How to Create a Material Circle Loader in CSS