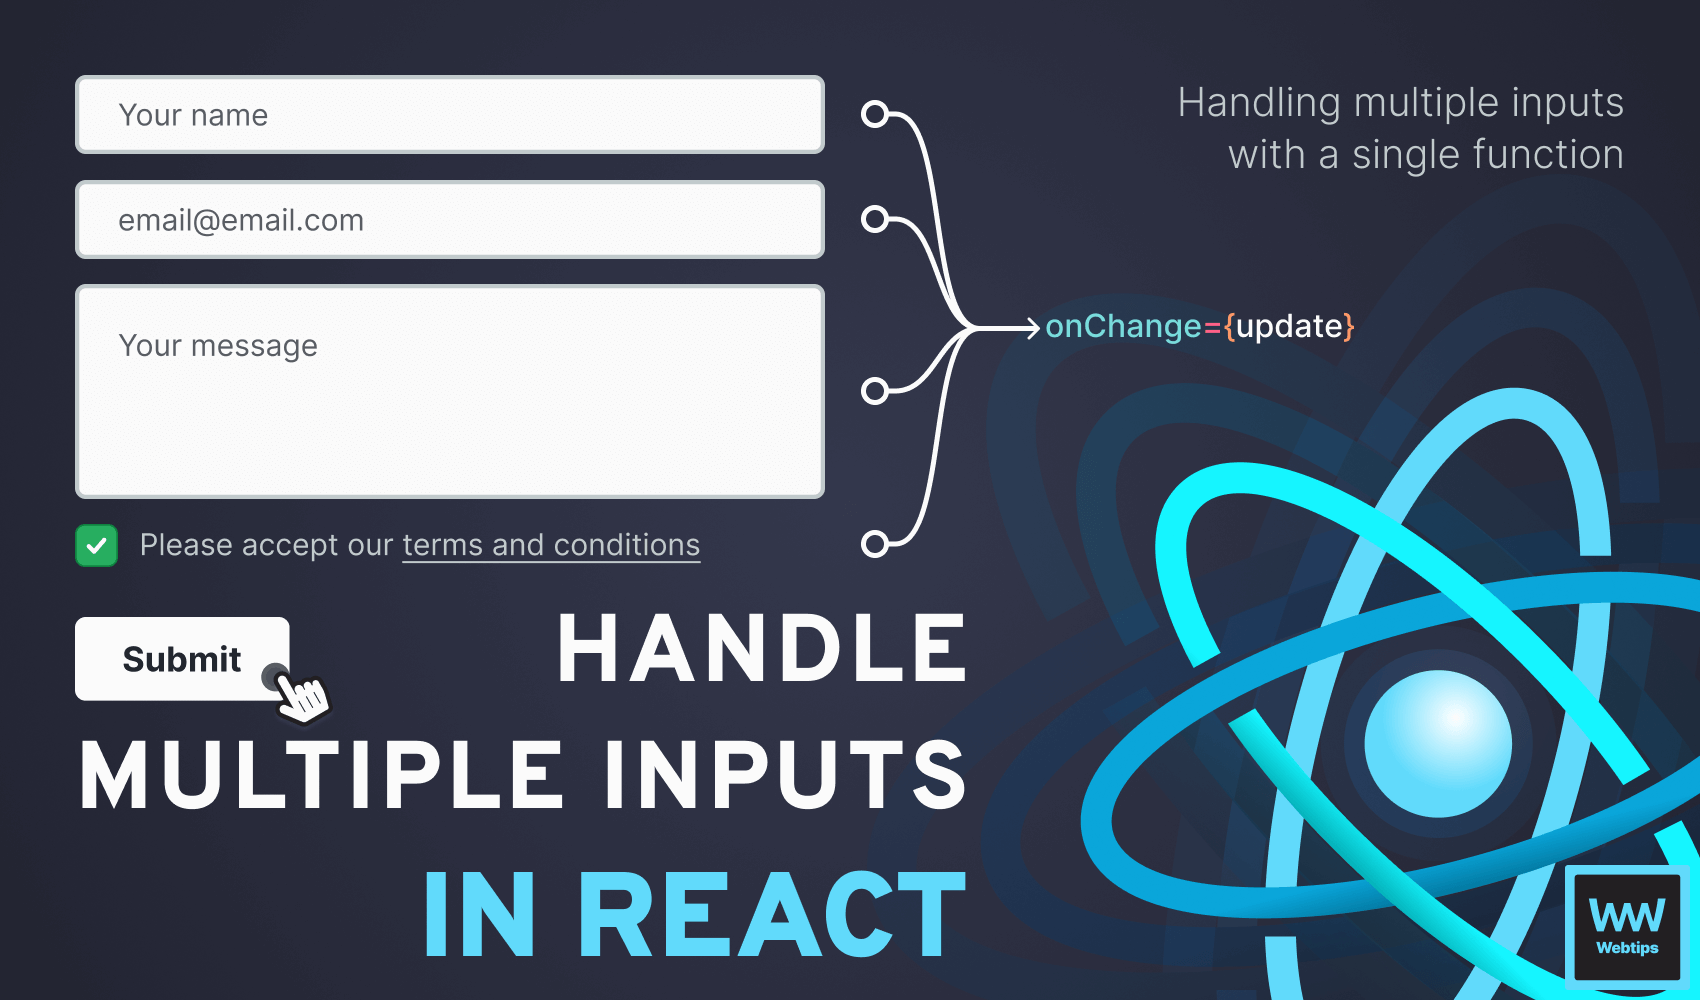
How to Handle Many Inputs with One Handler in React
When dealing with multiple inputs in React, using separate event handlers for updating the state could be overkill. Instead, we can use a single onChange event listener that we can share across different inputs. The following code demonstrates how we can achieve this:
const App = () => {
    const [state, setState] = useState({
        name: '',
        email: '',
        message: '',
        termsAndConditions: false
    })

    const update = event => {
        const target = event.currentTarget

        setState({
            ...state,
            [target.name]: target.type === 'checkbox'
                ? target.checked
                : target.value
        })
    }

    const submit = event => {
        event.preventDefault()

        console.log(state)
    }

    return (
        <form onSubmit={submit}>
            <input
                type="text"
                name="name"
                onChange={update}
            />
            <input
                type="email"
                name="email"
                onChange={update}
            />
            <textarea
                name="message"
                onChange={update}
            />
            <label>
                <input
                    type="checkbox"
                    name="termsAndConditions"
                    onChange={update}
                />
                Please accept our <a href="#">terms and conditions</a>
            </label>
            <button type="submit">Submit</button>
        </form>
    )
}Here, we have four different types of inputs to show you how a single function can manage the state of all of them. Let's break down this component from top to bottom to see what's going on.

Setting the Initial State
First, we need to set the initial state for the inputs. This can be represented in an object where each property corresponds with an input field. This is done through the use of the useState hook:
const [state, setState] = useState({
    name: '',
    email: '',
    message: '',
    termsAndConditions: false
})Each property should have a default state, for example, an empty string, or in the case of the checkbox (called termsAndConditions in the state) a boolean flag.
Creating the Correct JSX
Next, we need to create the form elements in JSX. Each input must have a name property that matches the key in our state, and an onChange event listener pointing to the same function:
return (
    <form onSubmit={submit}>
        <input
            type="text"
            name="name"
            onChange={update}
        />
        <input
            type="email"
            name="email"
            onChange={update}
        />
        <textarea
            name="message"
            onChange={update}
        />
        <label>
            <input
                type="checkbox"
                name="termsAndConditions"
                onChange={update}
            />
            Please accept our <a href="#">terms and conditions</a>
        </label>
        <button type="submit">Submit</button>
    </form>
)Note that the highlighted lines all point to a property inside the state object. We will use the name properties in the update function to update the correct state.

Updating Inputs with One Handler
The only thing missing is implementing the update function that is attached to the onChange event listener on each input. This function calls the setState updater function internally:
const update = event => {
    const target = event.currentTarget

    setState({
        ...state,
        [target.name]: target.type === 'checkbox'
            ? target.checked
            : target.value
    })
}When working with objects in state, always merge the rest of the state manually using the spread operator, otherwise, part of your state will get lost.
Here, we can use target.name as the key (which references the name property) and target.value as the value for the state. We also need a ternary to check if the input type is a checkbox, in which case, we need to assign target.checked as the value.
As for the submit function, make sure you call event.preventDefault to prevent the default browser action from taking place. This will prevent the browser from reloading the page.
const submit = event => {
    event.preventDefault()

    console.log(state)
}And with that, you now have a single handler that handles multiple inputs in React. Do you also need to integrate validation into your forms? Check out the tutorial below to see how you can easily achieve it for multiple input fields.

Rocket Launch Your Career
Speed up your learning progress with our mentorship program. Join as a mentee to unlock the full potential of Webtips and get a personalized learning experience by experts to master the following frontend technologies:
Courses


Recommended

Learn How to Use Map in React In and Out

2 Ways to Easily Expose Your Localhost to the World