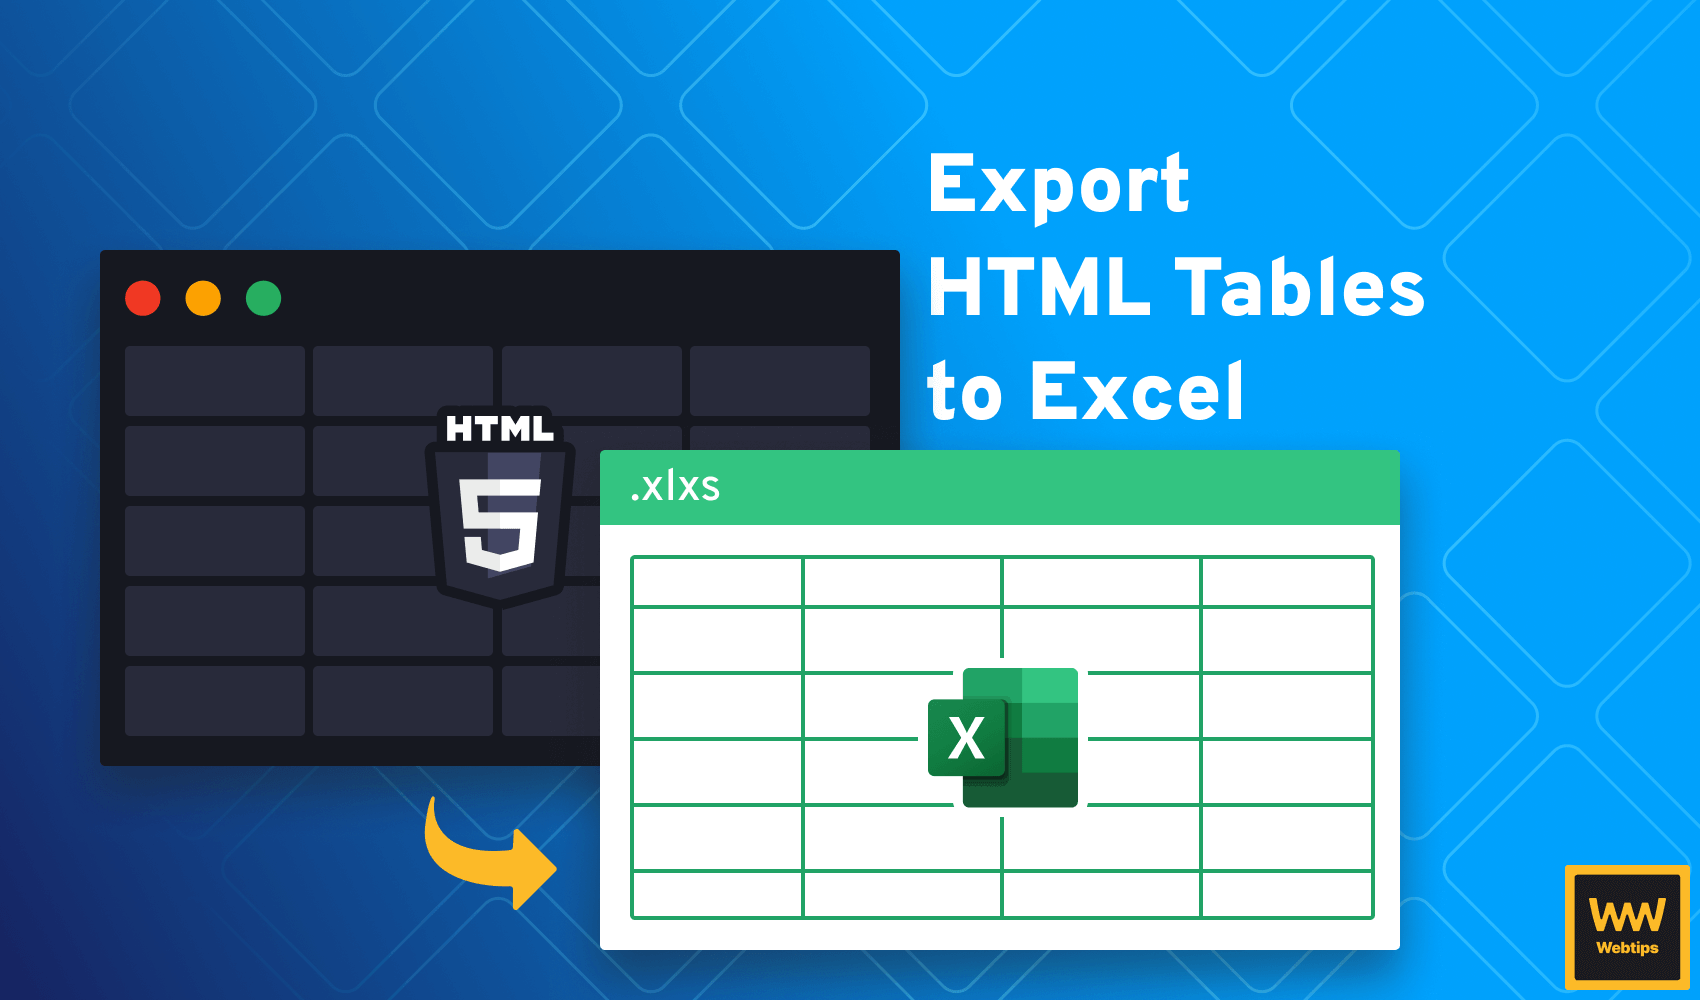
2 Easy Ways to Export HTML Tables to Excel
Using HTML tables is a great way to represent data in a structured format. For applications working with lots of tables, you may come across the need to export them for later use. The most viable solution, in this case, is to store the data in a spreadsheet.
In this tutorial, we'll take a look at how to export HTML tables to Excel in two different ways. Click on the button below to test its functionality and export the table below.
| Tech | Properties |
|---|---|
| HTML | Create hyperlinked documents |
| CSS | Design beautiful websites |
| JS | Add interactivity to your apps |

Export Table using Vanilla JavaScript
To export HTML tables to Excel using vanilla JavaScript, we need a button as well as a click event listener attached to the button that will trigger the export. Create a button with the id of download in your HTML file and add the following JavaScript code:
const onClick = (selector, callback) => {
    const element = document.querySelector(selector)

    element.addEventListener('click', callback)
}

// Download with Vanilla JS
onClick('#download', () => { ... })If you don't already have one, create a utility function for click events called onClick. We'll reuse it for the other example. To trigger the export, add the following code to the callback:
onClick('#download', () => {
    const dataType = 'application/vnd.ms-excel'
    const tableSelect = document.querySelector('table')
    const tableHTML = tableSelect.outerHTML.replace(/ /g, '%20')
    const downloadLink = document.createElement('a')
    const fileName = 'table.xls'

    document.body.appendChild(downloadLink)

    downloadLink.href = `data:${dataType}, ${tableHTML}`
    downloadLink.download = fileName
    downloadLink.click()
})This works by creating an anchor on the page with a download attribute. When the download attribute is present, it will trigger a download instead of navigation. We can use a data URL to generate the contents of the Excel file. It needs to have the following syntax:
data:application/vnd.ms-excel, <table>...</table>Data URLs always start with data: followed by the MIME type. In our case, it is application/vnd.ms-excel. This needs to be followed by the table itself.
Note that spaces need to be URL encoded as %20 to ensure proper display.
However, with this solution, a new link is created every time the button is clicked. This means that each time you click the button, the data URL is regenerated as well with all of the table's data.
This may not be a problem for smaller tables, but if you're concerned about performance, we can add a check to only generate the download link if it hasn't been generated yet. To achieve this, we can modify the above script as follows:
const downloadLink = document.querySelector(`[download="${fileName}"]`)

if (downloadLink) {
    downloadLink.click()
} else {
    const downloadLink = document.createElement('a')

    ...
}Export Table using SheetJS
Another approach to exporting HTML tables to spreadsheets is to use SheetJS. SheetJS is an all-in-one spreadsheet data parser and writer. To add SheetJS to your project, run the following command in your terminal:
npm i xlsxOtherwise, you can also include the bundled version of the script from SheetJS's official CDN. If you don't have an NPM project, import the library using the following script tag:
<script src="https://cdn.sheetjs.com/xlsx-latest/package/dist/xlsx.full.min.js"></script>To achieve the same behavior as before, we need to call utils.table_to_book on the library, then export the created workbook using the writeFile method:
onClick('#download', () => {
    const table = document.querySelector('table')
    const workbook = XLSX.utils.table_to_book(table, { sheet: 'table' })

    XLSX.writeFile(workbook, 'table.xls')
})
We need to pass the table DOM element to table_to_book. It also accepts a configuration object where we can name the spreadsheet using the sheet property. The writeFile method expects this workbook as the first parameter and the name of the file as the second.

Conclusion
In conclusion, exporting HTML tables to Excel can be done in about 20 lines of code without any library. If you also need to read XLS or perform other transformations with Excel files, it is recommended to use SheetJS instead. On the other hand, use the first solution if you're concerned about bundle size and only need the export functionality.
Is there anything you think this tutorial is missing? Let us know in the comments below! If you would like to learn more about JavaScript, make sure you check out our roadmap below. Thank you for reading, happy coding! 👨💻

Rocket Launch Your Career
Speed up your learning progress with our mentorship program. Join as a mentee to unlock the full potential of Webtips and get a personalized learning experience by experts to master the following frontend technologies:
Courses


Recommended
How To Create a Customizable Modal in Vanilla JavaScript

How To Create a Toggleable FAQ Component in React