How to Make an Easter Egg Hunt Game in JavaScript
Easter is around the corner, and eggs will soon be everywhere. In this tutorial, we will take a look at how you can create an Easter egg hunt mini-game in your app. We will use JavaScript to generate the eggs, CSS to add some animations, and party.js to break eggs with a boom.
At the end of this project, you will have the following mini-game ready that you can integrate into your site and reward visitors for finding all Easter eggs.


Creating Easter Eggs With JavaScript
The eggs can be created in two ways: either using an HTML img tag (adding eggs statically) or using the DOM API (adding eggs dynamically with JavaScript).
We are going to take a look at how to do the latter, as it has the benefit of adding eggs to the page at any time: either when the content is loaded, on scroll, or when a user action takes place. To create the image in JavaScript, we need the following code snippet:
const createEasterEgg = () => {
    const easterEgg = document.createElement('img')
    const easterEggContainer = document.querySelector('main')

    easterEgg.src = '/img/egg.png'
    easterEgg.classList.add('easter-egg', 'animate-in')

    easterEggContainer.append(easterEgg)

    setTimeout(() => easterEgg.classList.remove('animate-in'), 300)
}This function creates a new img tag using document.createElement, which is then appended to another element inside the DOM using append on line:8. In this example, it is attached to a main element, but this might be a different element for your use case. To reference the image for the element, we can assign the path to the image using easterEgg.src.

.animate-in class in slow motionWe also need to add two classes to style the element through CSS. We can do this using classList.add, which accepts a list of classes to be attached to the element. Note that the .animate-in class is removed from the element 300ms after it is attached to the DOM. This is so that we can give priority to the hover animation later on.
The setTimeout uses the length of the animation to remove the class as soon as the animation finishes.
Animating Easter Eggs With CSS
All of the animations are handled through CSS. There are two animations at play; one is played when the image is loaded, and the other one can be triggered upon hover. The animation for the .animate-in class is pretty simple; we need to scale the egg from 0 to 1. This can be achieved using the following CSS:
.easter-egg {
  cursor: pointer;
}

.animate-in {
    animation: popup .3s forwards;
    transform-origin: bottom;
}

@keyframes popup {
  0% { transform: scale(0);  }
  100% { transform: scale(1); }
}
Adding cursor: pointer will ensure that the mouse turns into a pointer to indicate that the element is interactive. There are two things we need to point out for the animation:
- Set the
animationtoforwardsto ensure that thetransformremains after the animation finishes. - Set
transform-origintobottomto animate the egg from the bottom instead of the center.

transform-origin set to bottom vs centerHatching eggs
There is also another animation playing out when the egg is being hovered over. Adding an animation with a small back-and-forth rotation will create the effect that the egg is hatching. Extend the .easter-egg class with the following CSS:
.easter-egg:hover {
    animation: shake 1.2s forwards;
}

@keyframes shake {
  35% { transform: rotate(8deg); }
  40% { transform: rotate(-8deg); }
  45% { transform: rotate(8deg); }
  50% { transform: rotate(-8deg); }
}This will play the animation for 1200 milliseconds. By starting the animation at 35%, we can delay it. Changing the rotation back and forth every 5% ensures that the rotation is played in quick succession. There's only one thing left for us to do.

Breaking Easter Eggs
To break the eggs on click, we need to go back to our JavaScript file and add a click event listener to our Easter egg. We are going to use party.js to create the confetti effect. To install party.js into your project, either include it in your HTML file or add it as a dependency if you have an NPM project:
<!-- Using HTML -->
<script src="https://cdn.jsdelivr.net/npm/party-js@latest/bundle/party.min.js"></script>

<!-- Using NPM -->
npm install party-js --save
Once installed, we can call party.confetti from JavaScript on a DOM element to create the confetti effect. Extend the createEasterEgg function with the highlighted lines to add the event listener:
// Import PartyJS if you are using it as an NPM package
import party from 'party-js'

const createEasterEgg = () => {
    const easterEgg = document.createElement('img')
    const easterEggContainer = document.querySelector('main')

    easterEgg.src = '/img/egg.png'
    easterEgg.classList.add('easter-egg', 'animate-in')

    easterEgg.addEventListener('click', event => {
        event.currentTarget.classList.add('break')

        party.confetti(event.currentTarget, {
            spread: 25,
            size: 0.7,
            count: 40
        })
    })

    easterEggContainer.append(easterEgg)

    setTimeout(() => easterEgg.classList.remove('animate-in'), 300)
}This will add a click event listener to the image. Inside the callback of the click event listener, we need to add a new class to the image that will remove it from the DOM through CSS. The .break class applies the following CSS:
.break {
    transform: scale(0) !important;
}The reason we are using scale(0) instead of display: none;, or simply removing the element from the DOM is that we need the element to be in the layout in order to play the confetti animation. Lastly, we can call party.confetti with the img (referenced through event.currentTarget) and a configuration object to tweak the particle effect to our own taste:
spread: Specifies how far the particles should fly from the mouse.size: Specifies the size of the confetti.count: The number of confetti to generate.
Summary
To make things more fun, you can keep the number of Easter eggs in a variable, as well as the number of eggs found. Once an egg has been clicked, you can increase the counter and reward the player as soon as they find all Easter eggs.
let easterEggs = 0
let easterEggsFound = 0

const createEasterEgg = () => {
    const easterEgg = document.createElement('img')

    easterEggs++;

    ...

    easterEgg.addEventListener('click', event => {
        ...

        easterEggsFound++

        if (easterEggsFound === easterEggs) {
            // Reward the player here
            console.log('You have found all easter eggs! 🐣')
        }
    })

    ...
},
If you would like to tweak the confetti effect, you can play around with the configuration on the official site of party.js. The tool also supports the use of different templates, and you can even create your own shapes.
If you are interested in more game-related use cases of JavaScript, check out our JavaScript game ideas below where you can also find tutorials for each idea. Thank you for reading this tutorial, happy coding! 👨💻


Rocket Launch Your Career
Speed up your learning progress with our mentorship program. Join as a mentee to unlock the full potential of Webtips and get a personalized learning experience by experts to master the following frontend technologies:
Courses


Recommended
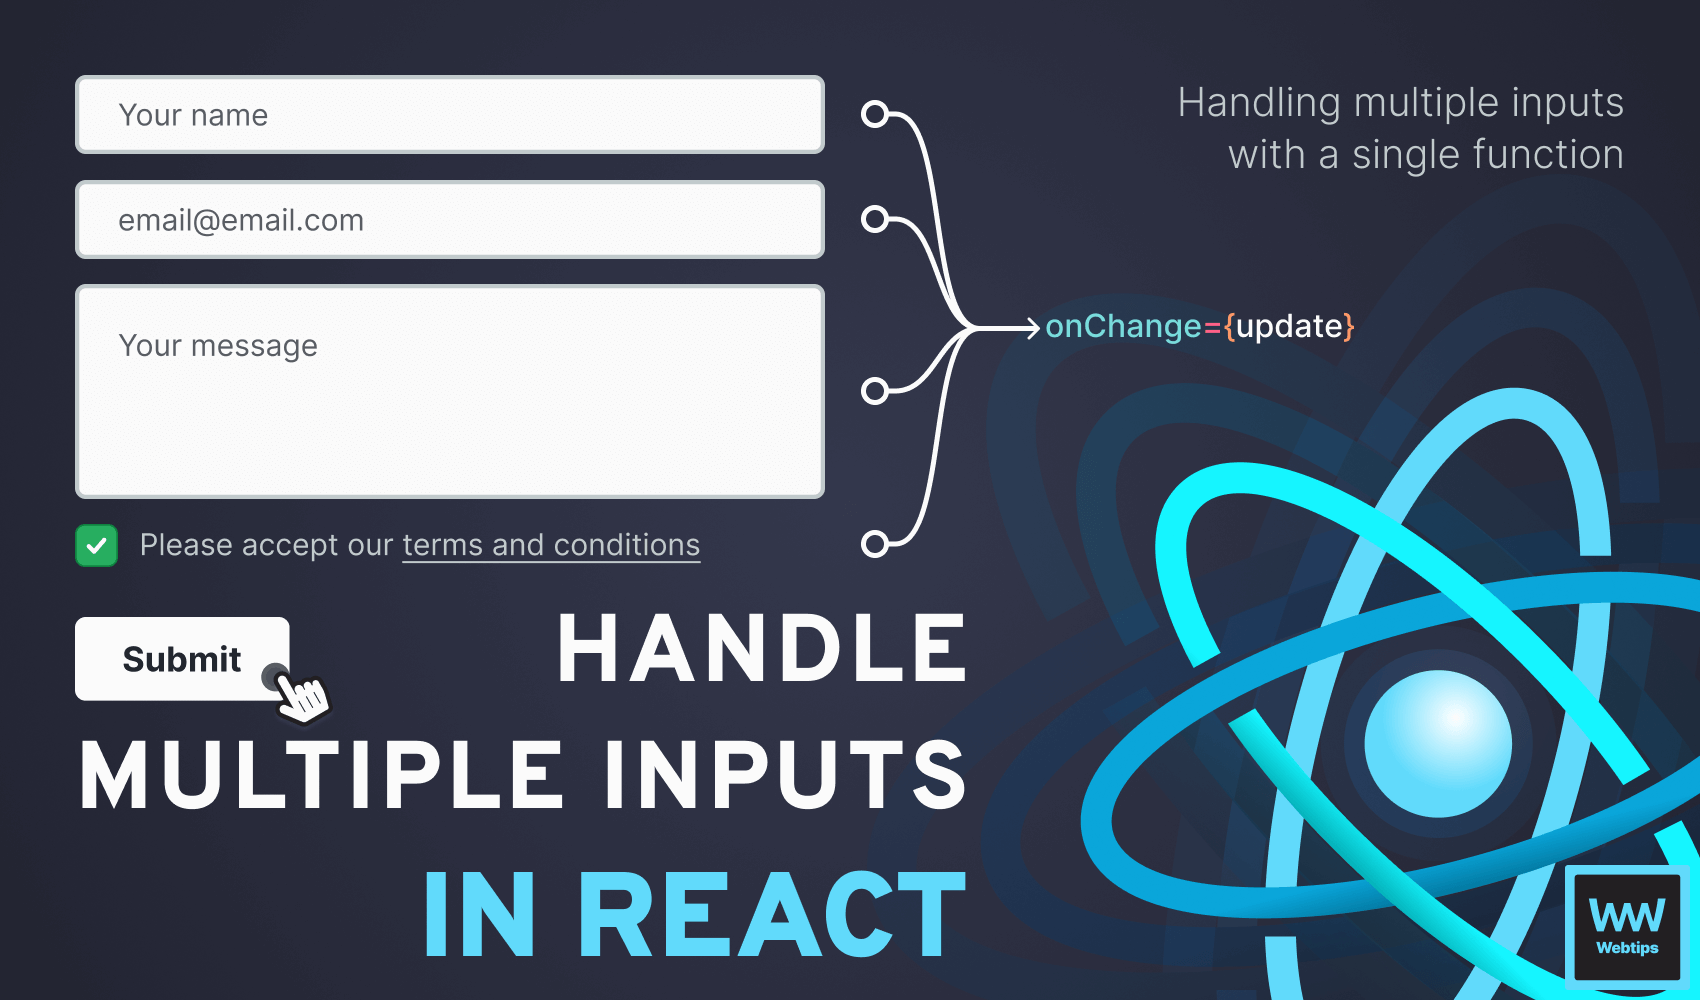
How to Handle Many Inputs with One Handler in React
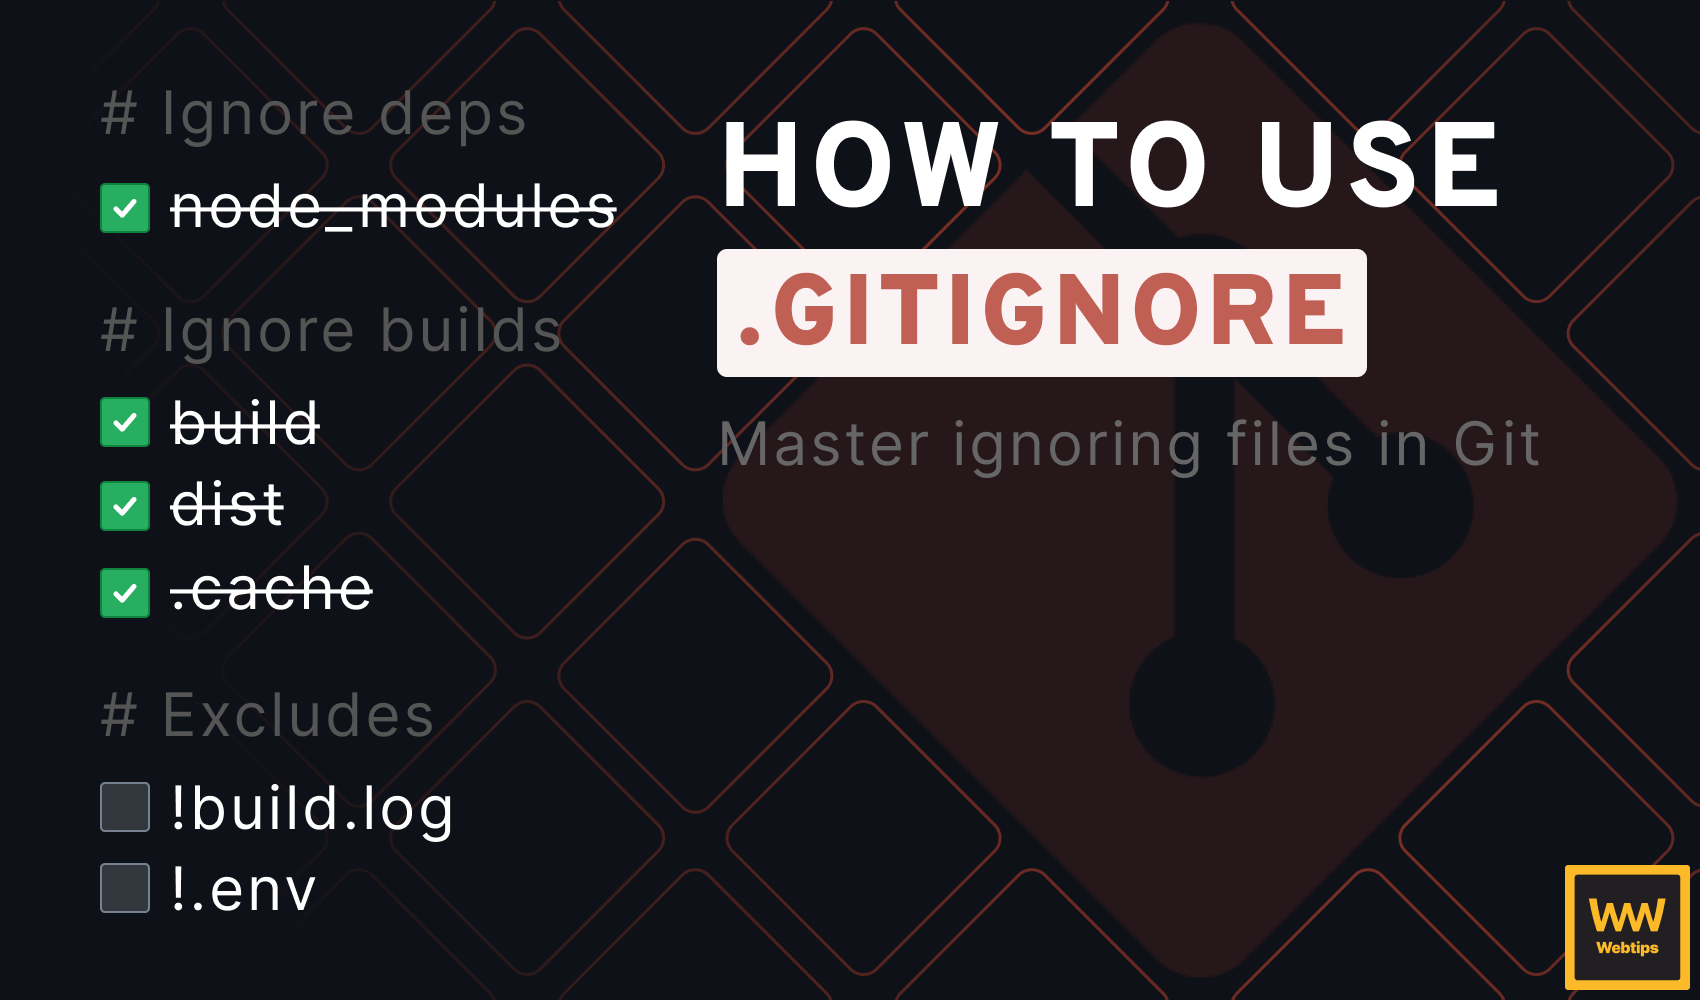
How to Use Gitignore to Its Full Potential