How to Deploy a React App with a Node Backend
Using React with a Node backend is a popular choice that lets you use one language for both your client and server: JavaScript. In this tutorial, we will look into how you can build out your frontend using React, and connect it to your backend using Node.
For simplicity, we will keep everything in one project folder, but you can easily store them in different repositories, as we will separate the two with two different folders. In the end, we will deploy both React and Node to Heroku, which is a cloud application platform. With that being said, let’s set up the project.

Setting up React with Node
The first step is to create a new NPM project by running npm init -y. Using the -y flag will automatically answer yes to any prompts by npm. Make sure you also init the project as a git repository, as we will need it to deploy to Heroku. Once your project is ready, we will need to install some dependencies:
npm i -D parcel@next

npm i express react react-dom
We are going to use Parcel as the bundler, and Express as the backend. Don’t forget to also add react and react-dom as dependencies.
Creating the Backend with Express
First, let’s set up the API. To keep Express separate from React, we can create two directories in the root folder called client and server. Add an index.js file into your server folder that will act as the entry point for Express:
const express = require('express'),
      path    = require('path'),
      route   = require('./route.js'),
      app     = express(),
      port    = process.env.PORT || 8080;

app.use(express.static(path.resolve(__dirname, '../client/build')));

route(app);

app.listen(port);

console.log(`API server is listening on port:${port}`);We only going to need 13 lines of code. Note that we are going to need to use a built-in middleware called express.static to serve static files. We want to reference the build folder of our React app that will be generated by Parcel. And we also have a route function I’m using for wrapping the Express app. This is for handling the different endpoints.
Create a route.js file next to your index.js file, and export the following function to expose a mock endpoint with some data that we can fetch:
const path = require('path');

module.exports = app => {
    app.get("/api", (req, res) => {
        res.json({ message: '👋 from Express!' });
    });

    app.get('*', (req, res) => {
        res.sendFile(path.resolve(__dirname, '../client/build', 'index.html'));
    });
};This will define an /api endpoint for us that returns with a message. In case we hit any other route, we can use a wildcard to return the static index.html file that will hold the React app. So to actually test this out, let’s create a new command for it inside package.json:
"scripts": {
    "start": "node server/index.js"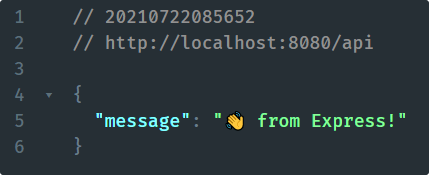
}And run npm run start to start the Express server. If you visit localhost:8080/api you should see the message returned we have defined inside route.js.

Creating the Frontend with React
Now let’s turn our attention to the UI. Inside your empty client folder, add an index.html. This is what we will serve from Express if we hit anything else, other than the /api endpoint:
<!DOCTYPE html>
    <html lang="en">
        <head>
            <meta charset="UTF-8" />
            <meta http-equiv="X-UA-Compatible" content="IE=edge" />
            <meta name="viewport" content="width=device-width, initial-scale=1.0" />
            <title>⚛️ React app with Node backend</title>
        </head>
    <body>
        <div id="root"></div>
        <script type="module" src="./index.tsx"></script>
    </body>
</html>Don’t forget to create an index.tsx file next to it that is referenced in the HTML. Parcel will take care of the extensions, so we can safely use tsx inside the HTML file.
import React from 'react'
import { render } from 'react-dom'
import App from './src/app'

render(<App />, document.getElementById('root'));As you can see, I’ve outsourced the root of the app into a src folder, so lets create that and see what we have:
import React from 'react'
import useFetch from './useFetch'

const App = () => {
    const [data, loading] = useFetch('/api');

    if (loading) {
        return <div>loading...</div>
    }

    return data.message;
};
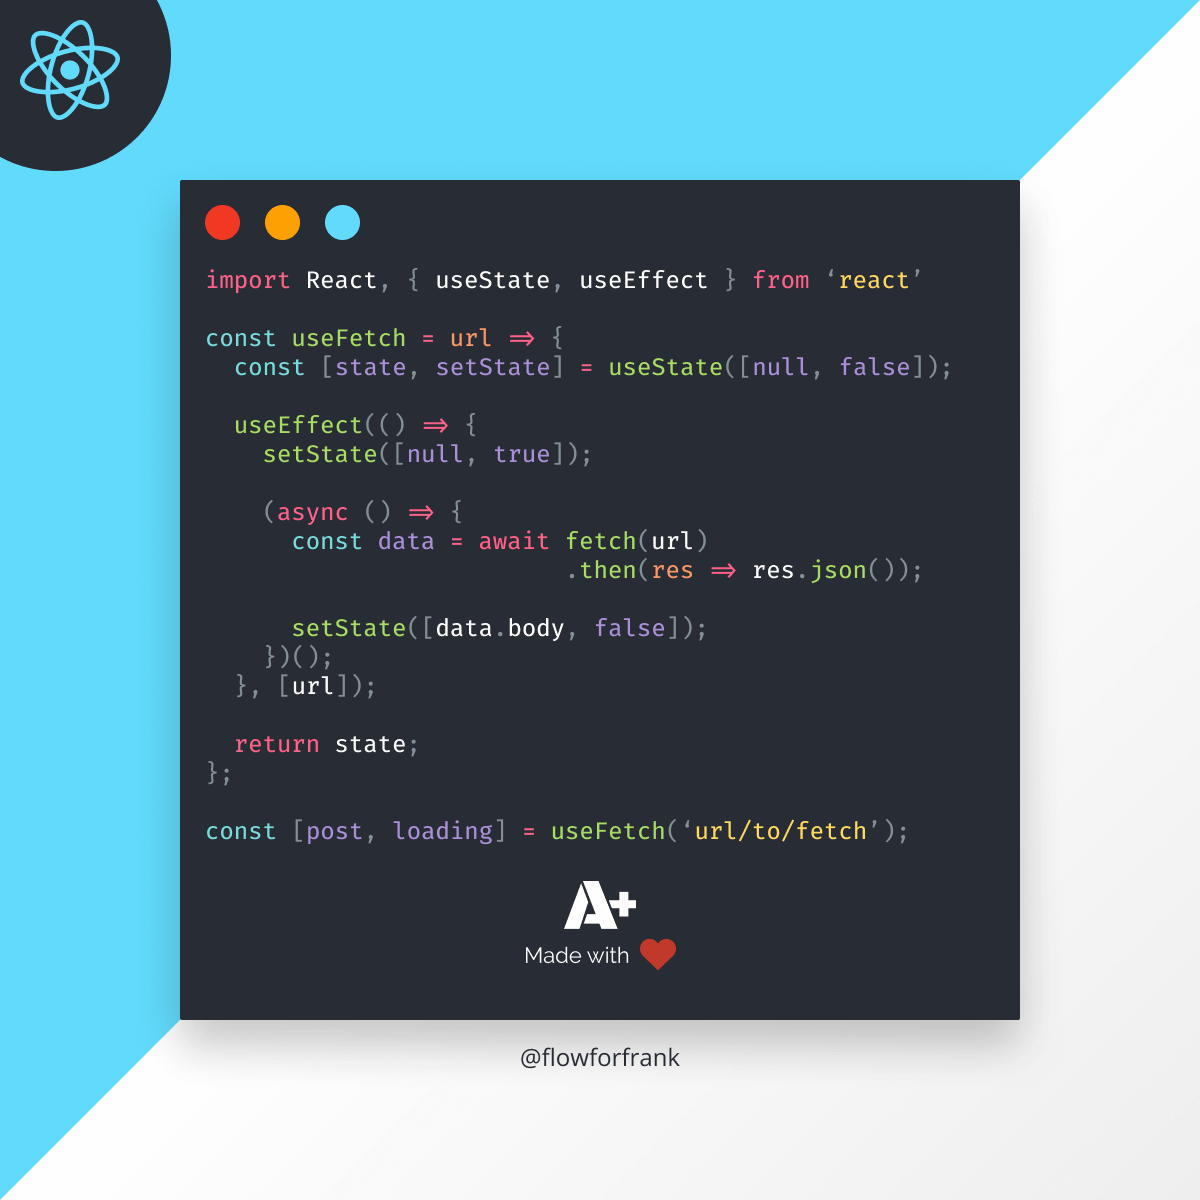
export default App;First things first, we are using a custom hook, called useFetch. Internally, this is using useState and useEffect. If you would like to learn more about how useFetch works, you can refer to the tutorial below. Alternatively, you can also get the source code from GitHub.
Secondly, we are hitting the /api endpoint without specifying the host. However, Express is running on port:8080, so we need a different port to run React. But if we use a different port, then we would need to use absolute paths. The problem with absolute paths, however, is that if we were to use localhost:xxxx/api, it would break on production. So how we can get around this?
Luckily, Parcel is capable of proxying requests. Add a .proxyrc.json file at the root of your project directory, and add the following:
{
    "/api": {
        "target": "http://localhost:8080/"
    }
}This will tell Parcel to forward the requests sent to /api to localhost:8080/api. The good things is, it’s only used for development. Once we deploy the app, both React and Express will live on the same server, so the relative path will work fine.
If you don’t want to use Parcel, you can proxy requests in webpack or CRA, and most probably in your other choice of build tool too.
There is only one thing left to do, and that is to add some more scripts to package.json so we can start and build our React application:
"scripts": {
    "start:react": "parcel serve client/index.html --open --dist-dir client/build",
    "start": "node server/index.js",
    "build": "parcel build client/index.html --dist-dir client/build"
}Since we already have a start script for Express, we can namespace the command using double-colon. Also, make sure you define the distribution directory as client/build, as that is what we were referencing inside Express. And be sure to name your build command as build, as that is what Heroku will look for by default. You can change this behavior with a heroku-postbuild command. Now you can also add this to your .gitignore.
# dev dependencies
node_modules
.parcel-cache

# builds
client/buildDeploying to Heroku
There’s one last thing to do, and that is to deploy the whole application to Heroku. In order to do that, you will need to create an account first. Once that is ready, you can access your Heroku dashboard. Inside your dashboard, you can create apps by clicking on the “New” button and selecting “Create new app”. The app for your name has to be unique.

Once your app is ready, you can go to the “Deploy” tab, where you will get clear instructions on how to deploy to Heroku.
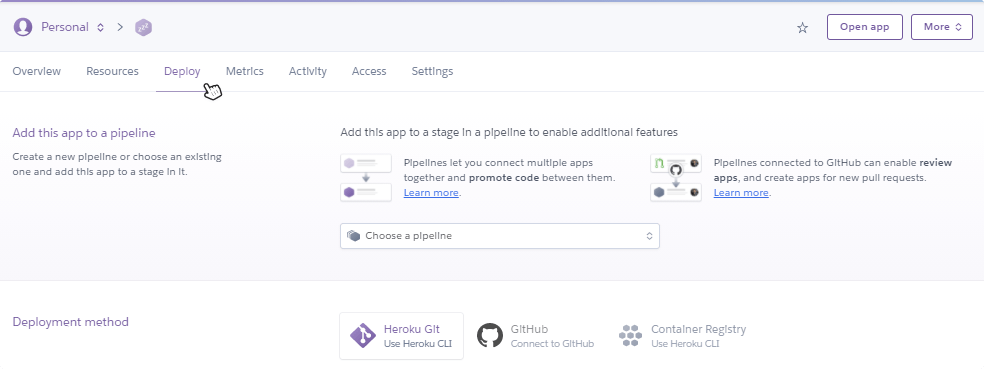
First, you will need to install the Heroku CLI, so you can give Heroku-specific commands in your terminal. Once that is done, login to Heroku using heroku login inside your terminal. Lastly, you can push your changes by simply saying:
git push heroku master
Before you do that, however, make sure you commit all changes. Once the deployment is ready, you will get the URL for your app in your terminal that you can visit to verify if the app is working.

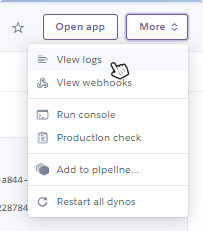
If there is any problem that you need to debug on Heroku directly, you can quickly access the log files which will log everything that happens with your app. Here you should be able to see errors, just like you would get in your terminal during local development.
Summary
And now you have your React application with a node backend up and ready. For new changes to deploy, you just have to trigger a push to Heroku, but this step can also be automated. You can easily integrate it with GitHub through your “Deploy” tab, it also comes with its own CI, or you can simply do a push to the git endpoint from your CI script:
git push https://heroku:[email protected]/$HEROKU_APP_NAME.git HEAD
Lastly, if you would like to get the source code in one piece, you can clone it from GitHub. Thank you for reading through, happy coding!

Rocket Launch Your Career
Speed up your learning progress with our mentorship program. Join as a mentee to unlock the full potential of Webtips and get a personalized learning experience by experts to master the following frontend technologies:
Courses


Recommended

2 Ways to Fix CORS Issues in Angular

How to Quickly Increase the Memory Limit in Node.js